
 Facebook
 X
X
 Pinterest
 Copy Link
Drain the rain away…
As we enter the rainy season here in Seattle, your home (like mine!) may experience too much water…
Water flooding your yard, or especially entering your basement, is really scary and overwhelming. You think, how can I possibly move this water somewhere else, or even soak it up because it just keeps coming. It’s a little like bailing the ocean. After dealing with water problems in several houses, I can honestly say it’s much less scary now, and yes, still annoying. French drains can be your best friend, both inside your home (a story for another day) and outside.
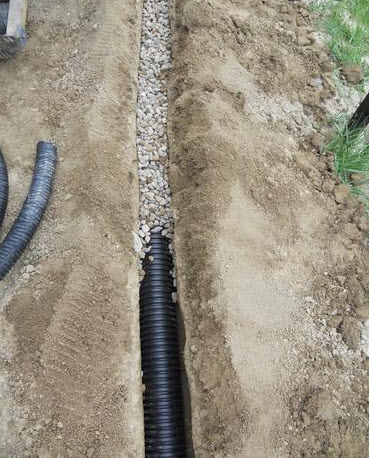
This is a system that uses gravity to divert water away from your home or yard, along with water’s natural tendency to follow the path of least resistance. The typical French drain consists of two main parts – the drain field, where excess water enters the pipes, and the drain exit which is the lowest point and where water leaves the system. Essentially, it’s a gravel-filled trench lined with a perforated pipe, providing an easy channel for water to flow through, leading it away from your home.
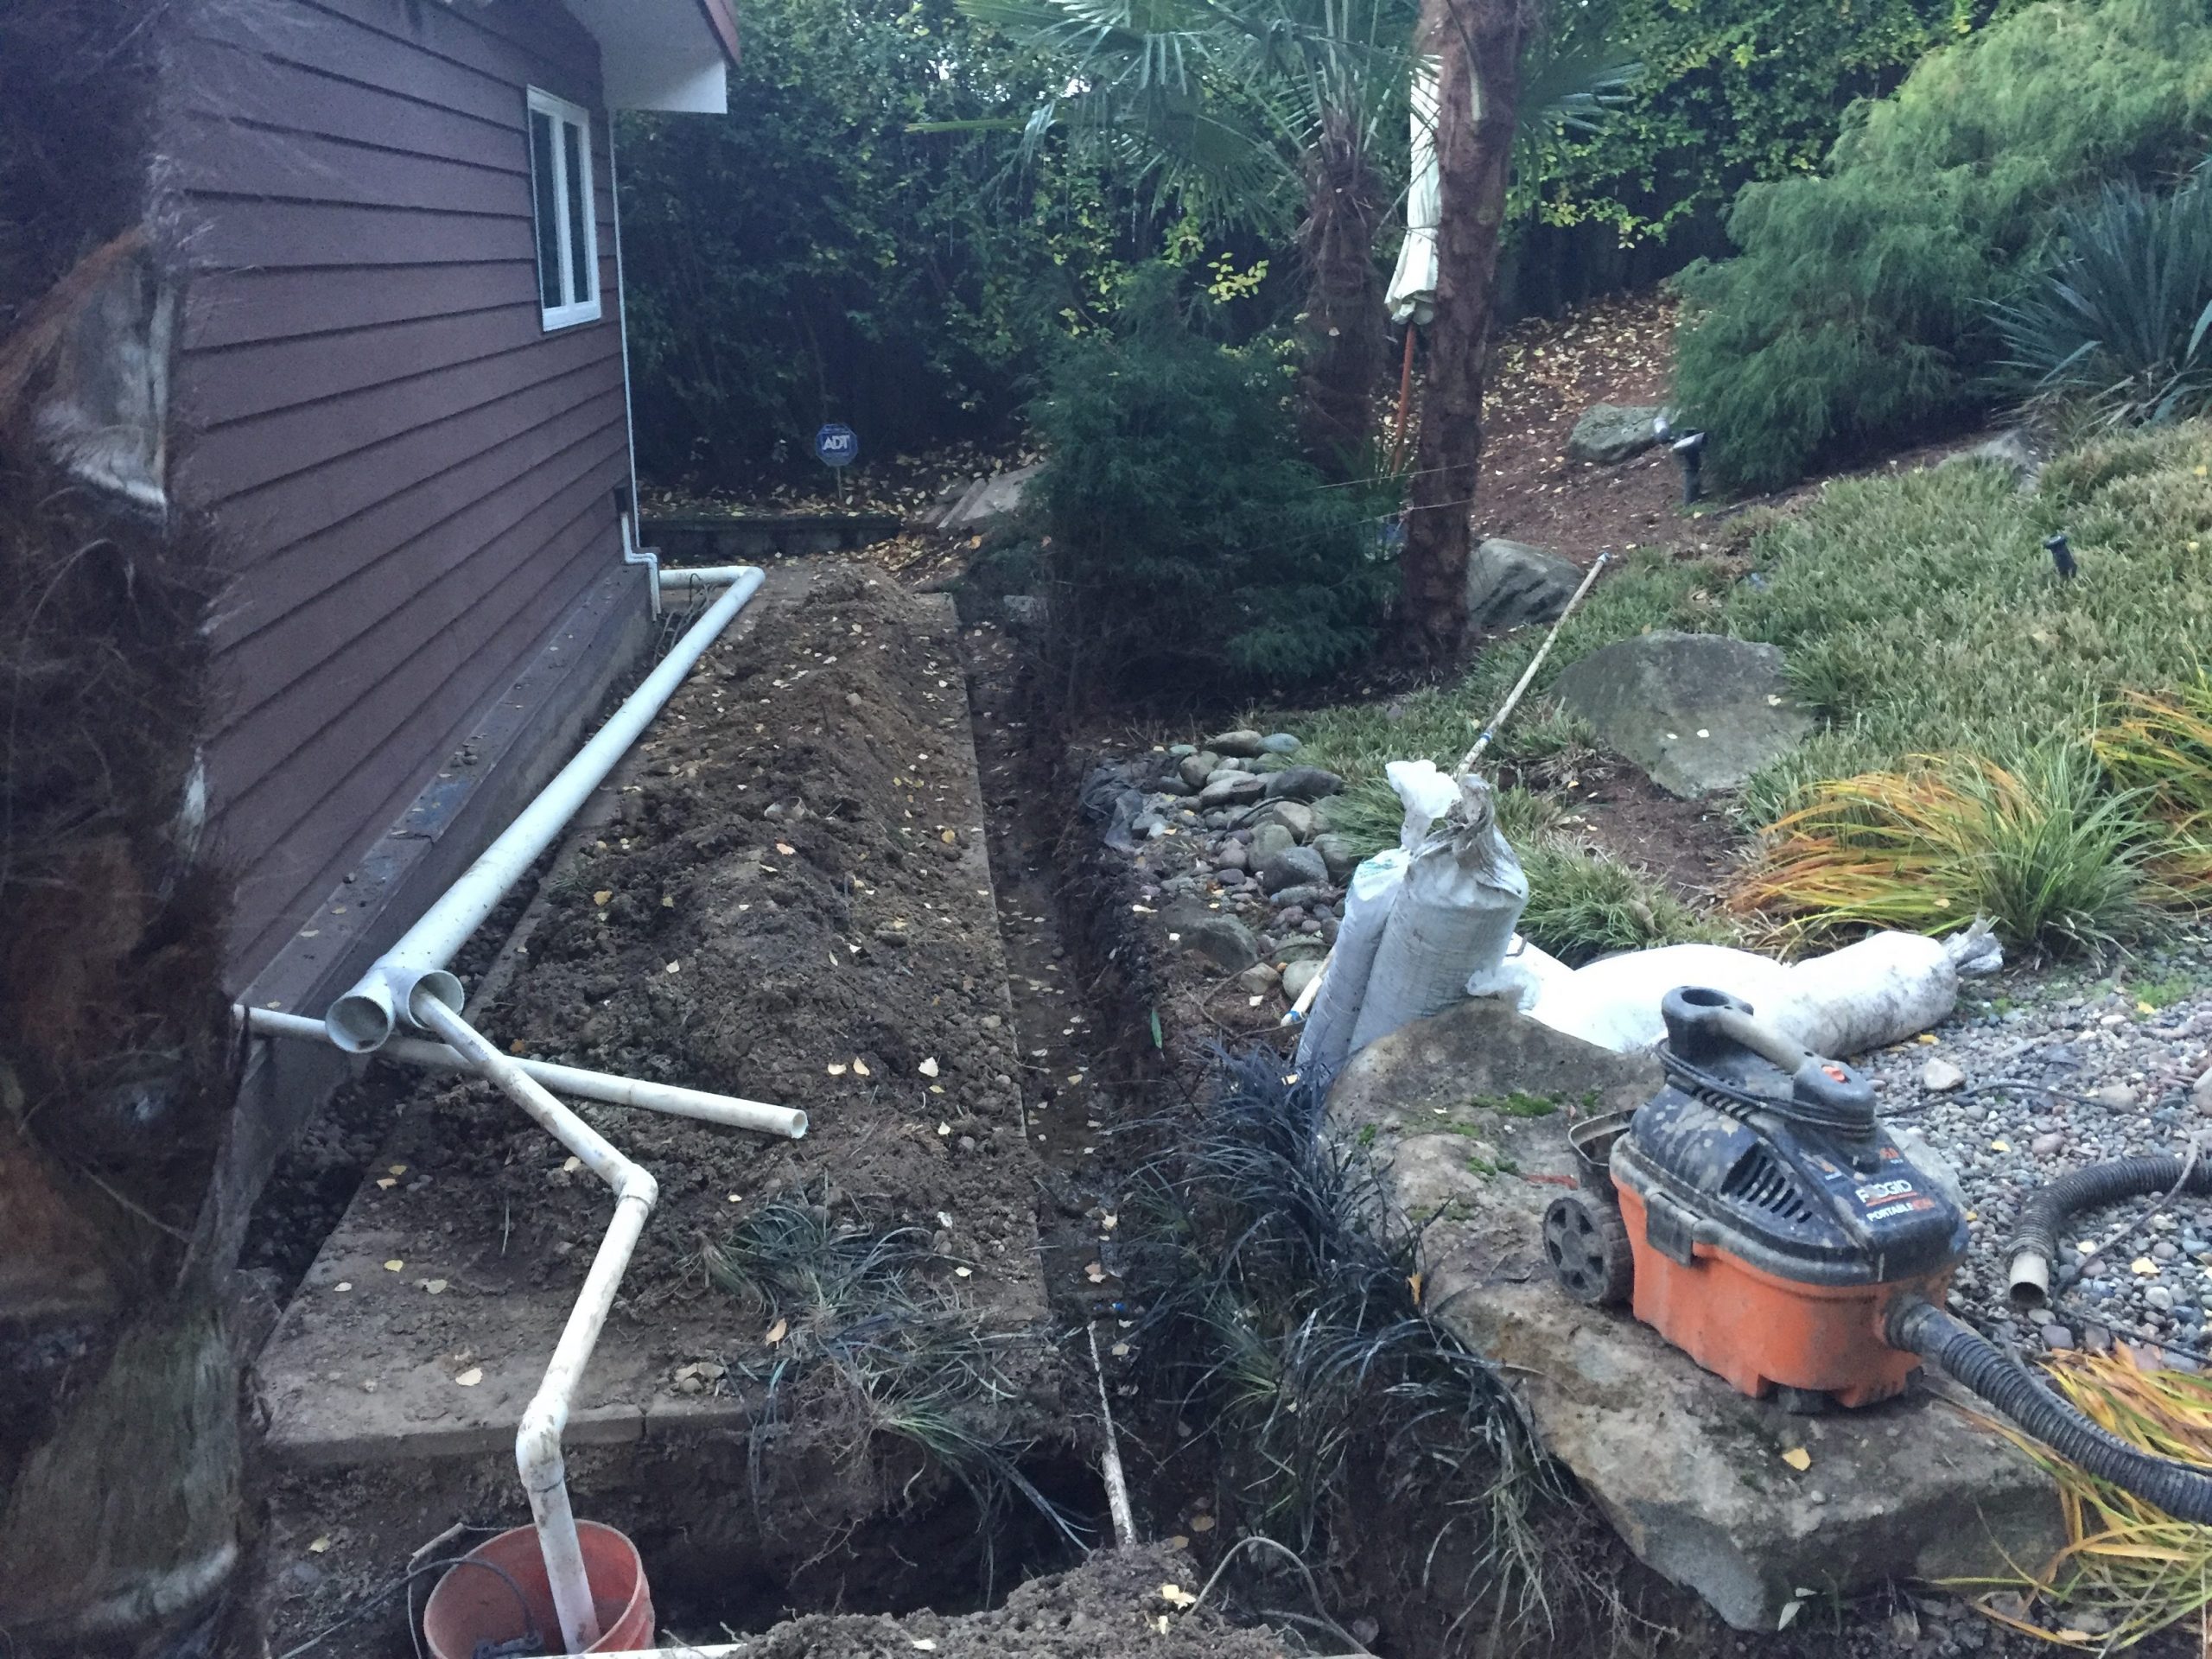
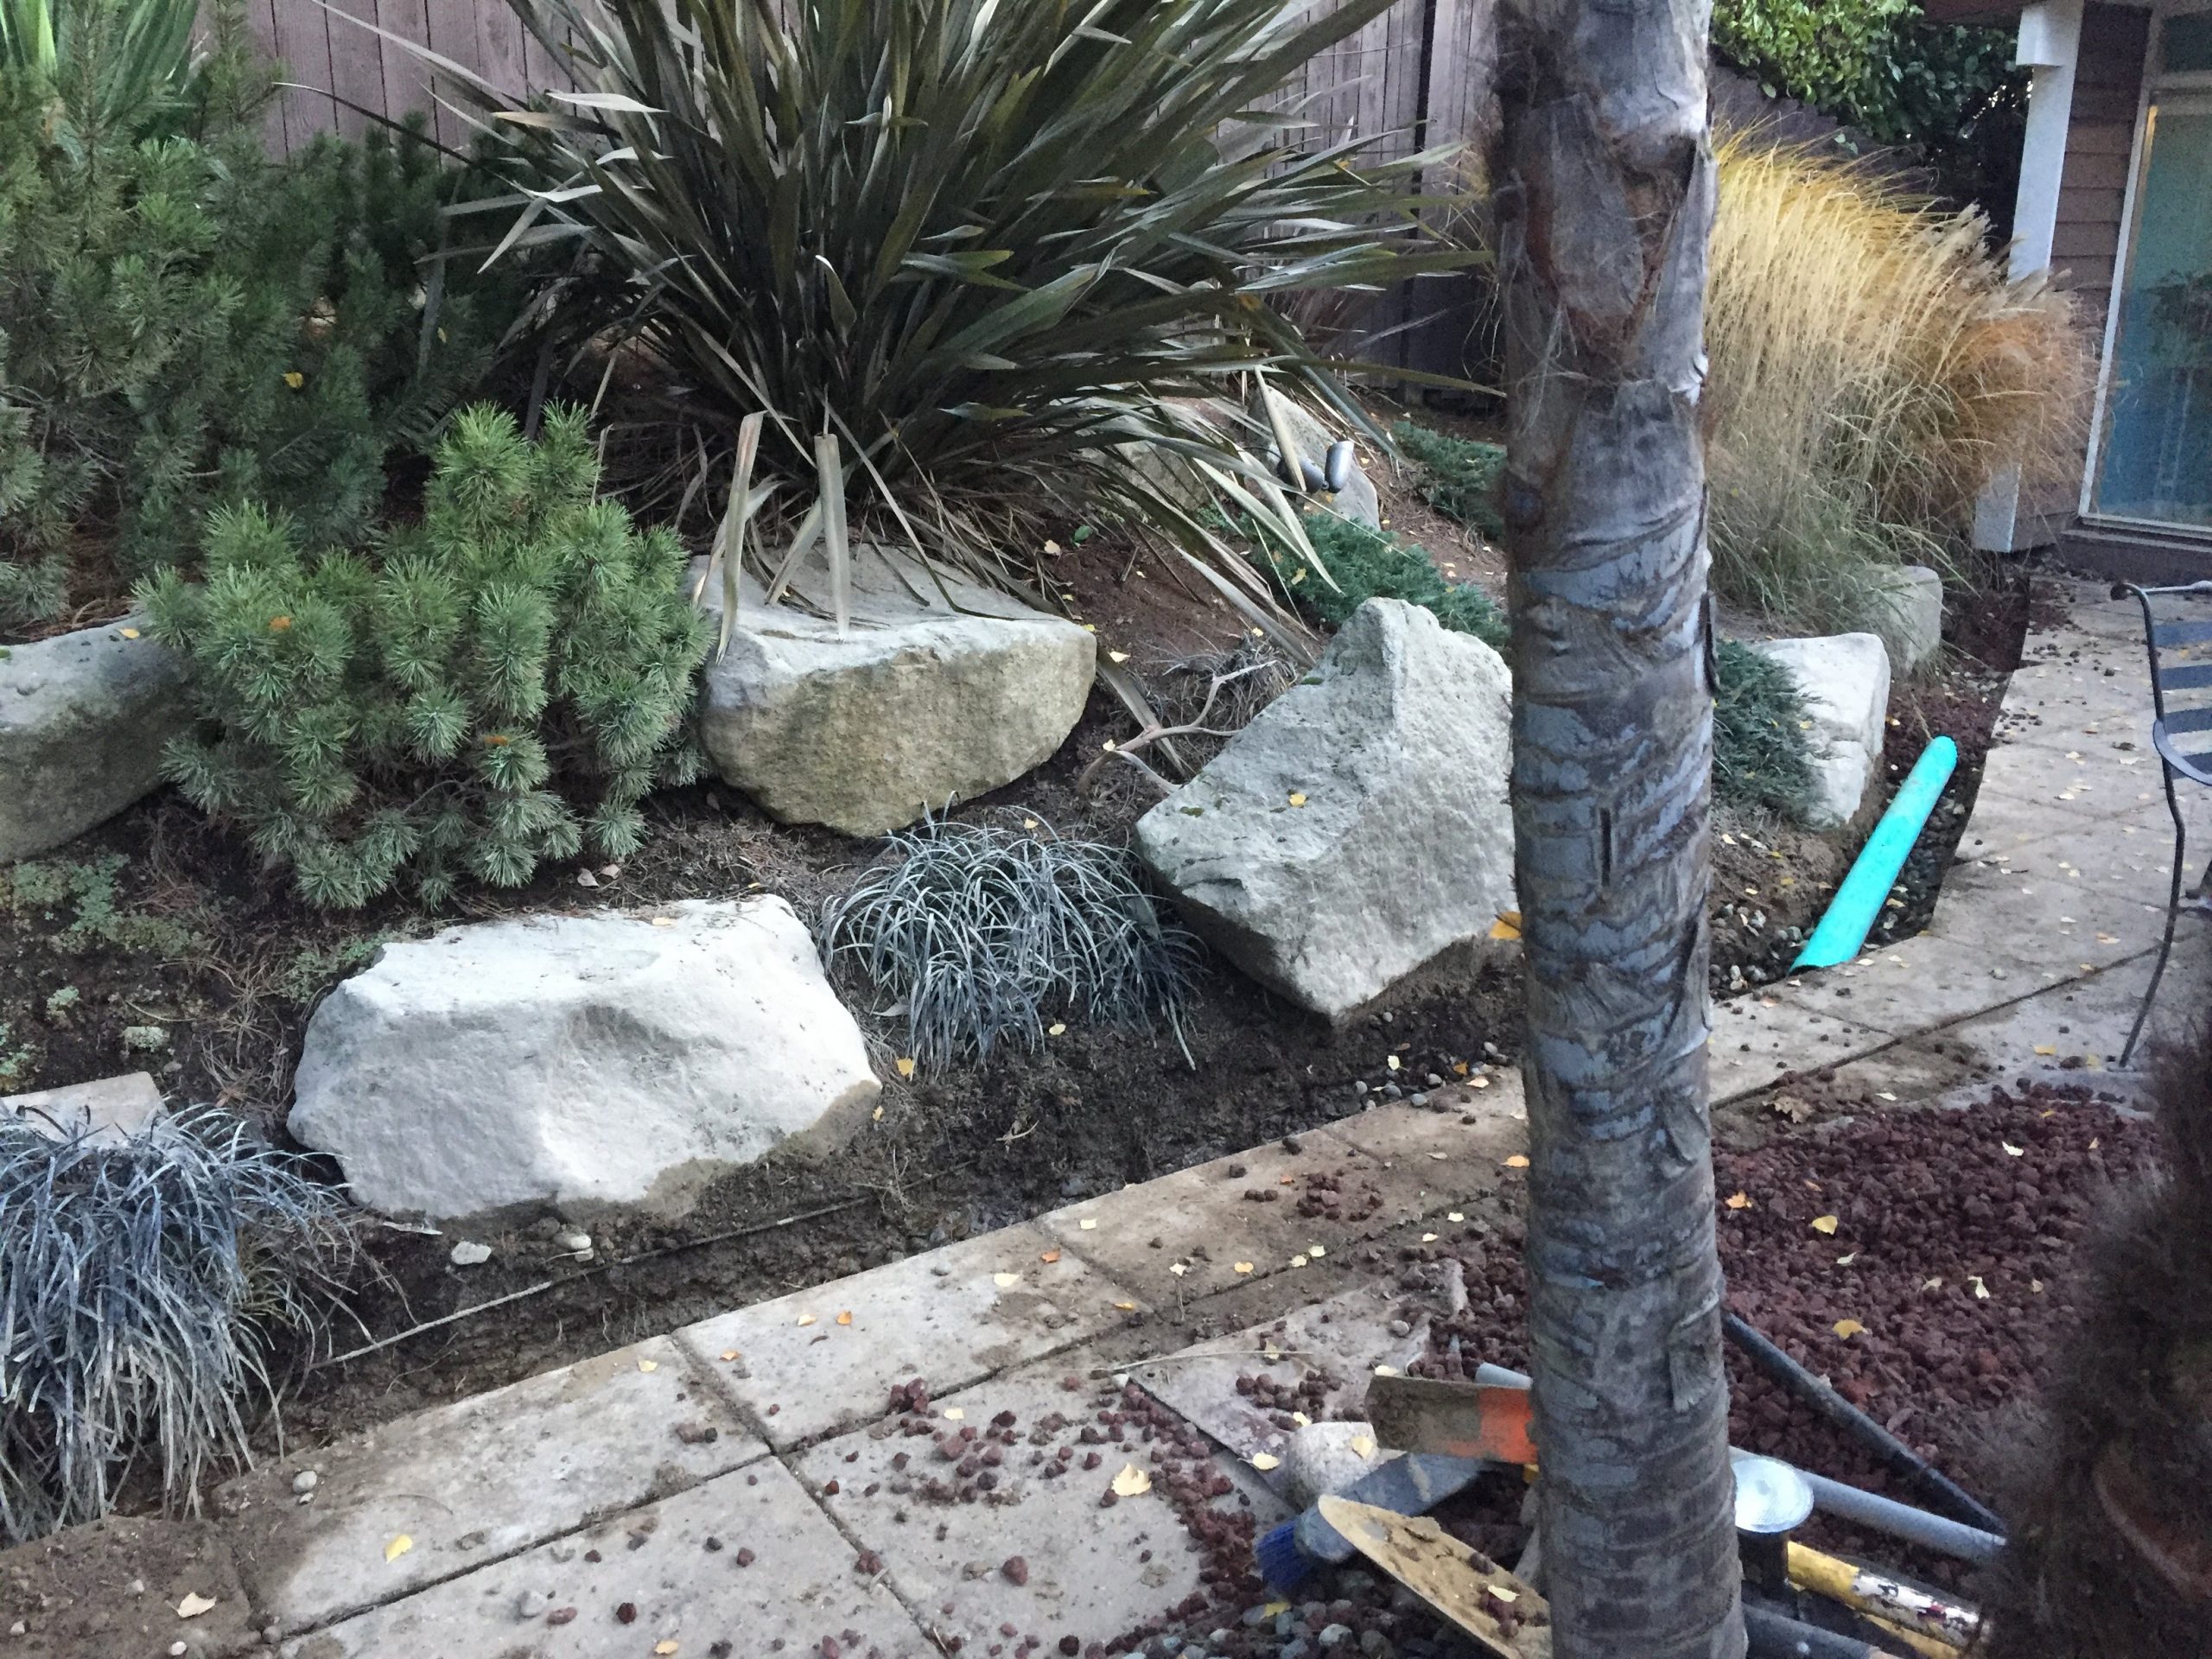
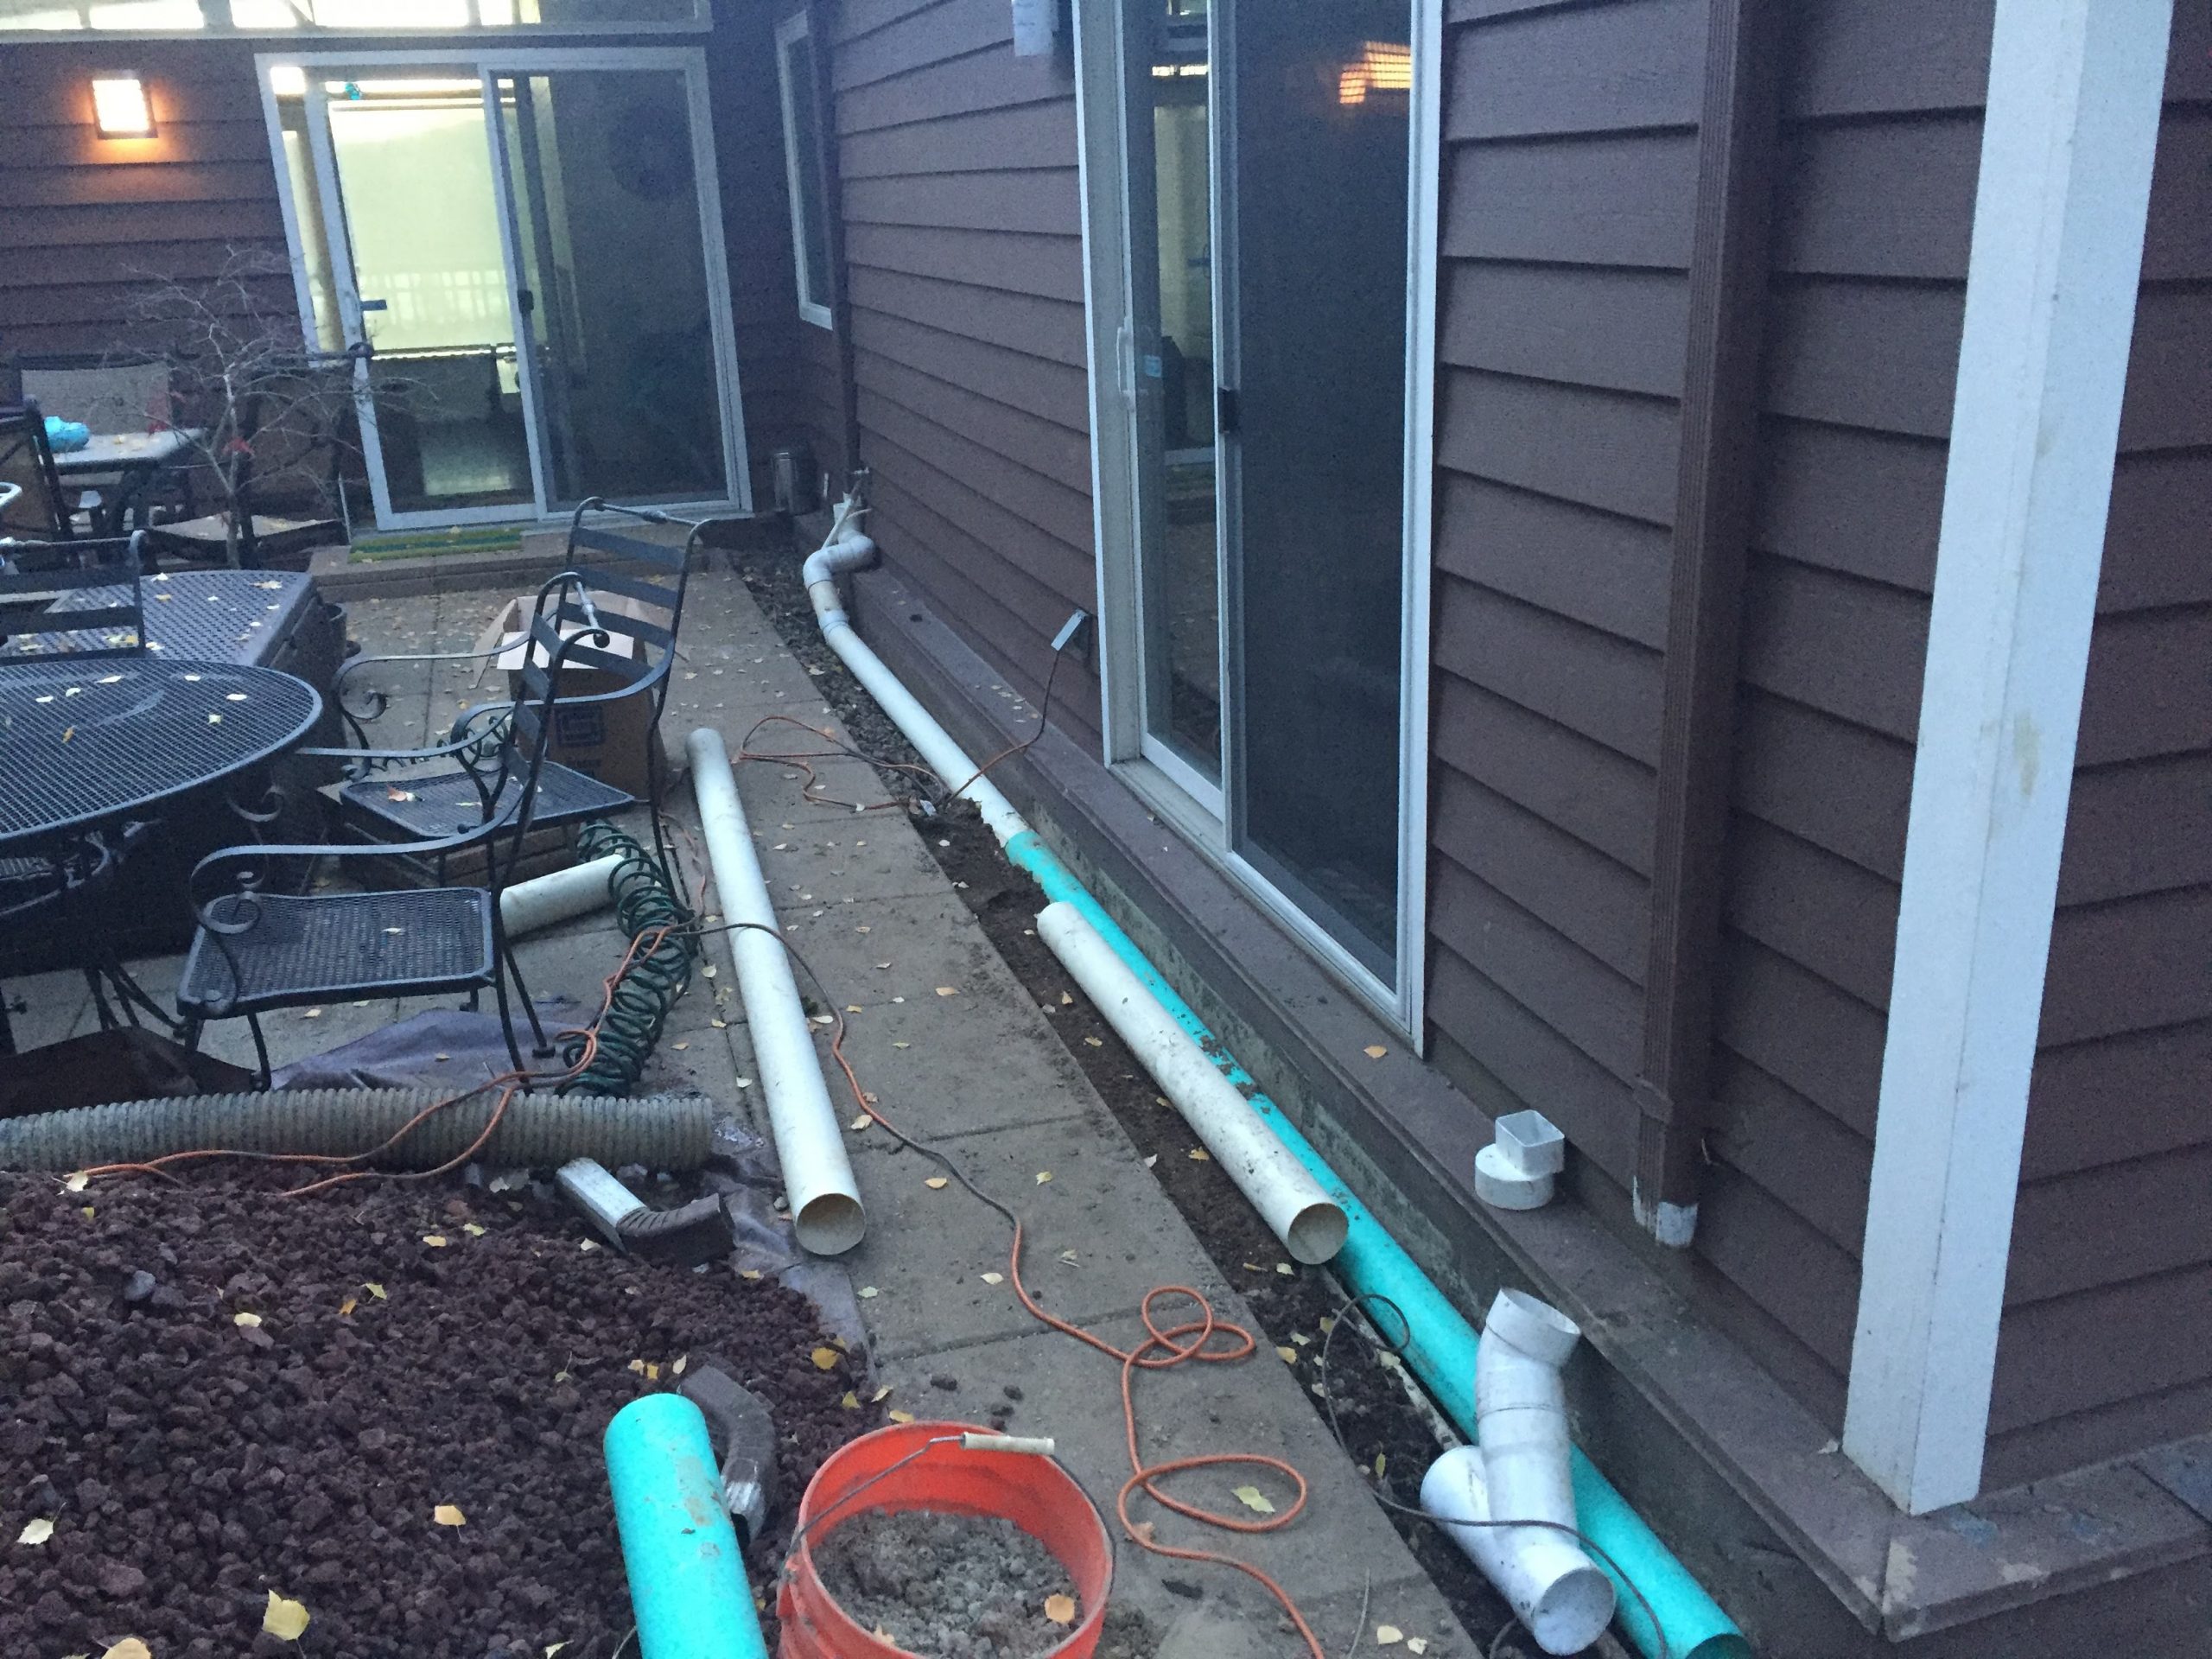
In the fall of 2016, Seattle experienced record-breaking rains – and my home experienced a flooded patio and basement. Drainage experts installed 150’ of new French drains around the home and patio perimeter, and tied my gutters into a solid pipe system to make sure roof run-off was not adding water to the problem. The hand-dug project took about a week (too tight to get any machinery behind my home), and was covered over in red lava rock instead of plain gravel.
French drains are effective and low-maintenance, but not NO maintenance. Every year or so, you need to move some gravel and see if run-off dirt is clogging it, making it harder for the water to reach the perforated pipe. If so, you need to remove the stones, wash the dirt from them, and replace them around the pipe. If you have drainage issues, feel free to contact me for my experiences, contractor recommendations, or just to commiserate!

Sound Memories
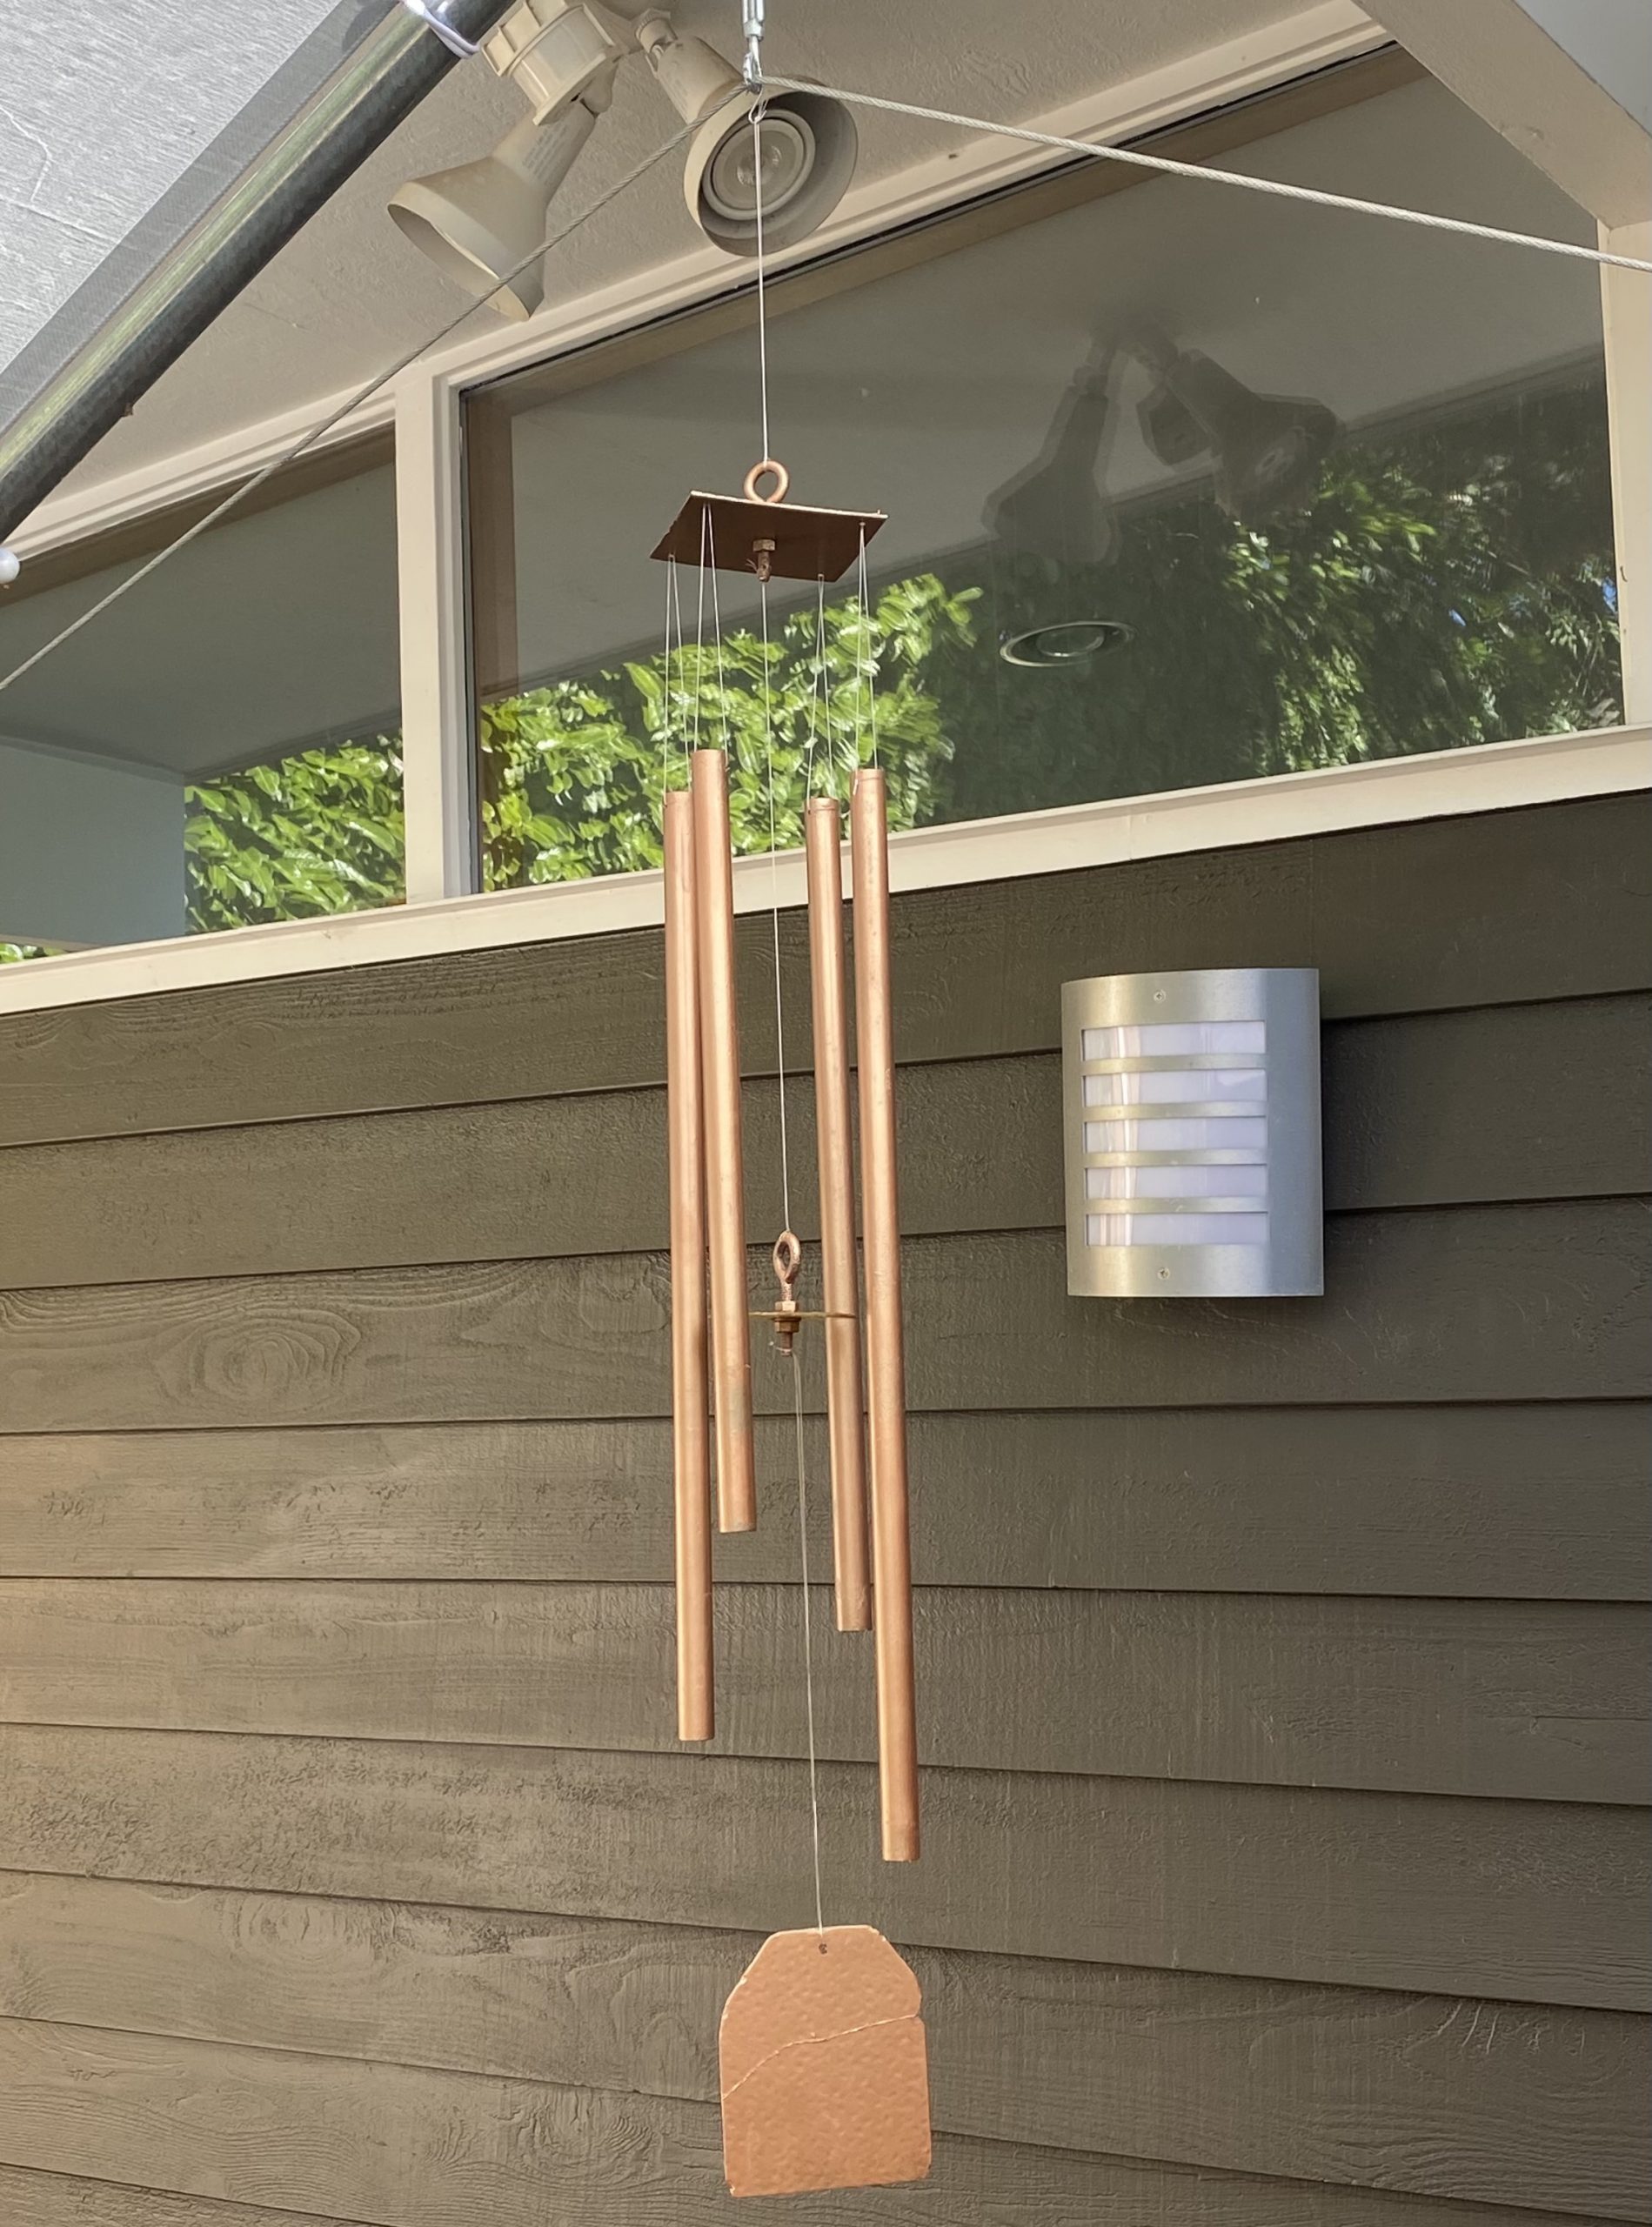
I was reminded this weekend of the incredible transporting power of sounds, as I rehabbed some windchimes that my grandfather made for my grandmother at least 40 years ago. These chimes hung at the back corner of their cottage on Camano Island all my life, providing the soundtrack for their beloved vegetable garden. Grandma wanted some windchimes, and there was nothing my grandpa wouldn’t do for her – and nothing he couldn’t build, fashion, or fix. He went out to his workshop (maybe to sneak a cigarette) and emerged later with “custom” windchimes made from lengths of spare copper pipe, formica from their countertops, bits of translucent plastic from their kitchen cabinet windows, and held together with string, fishing line, and small nails. Grandma loved them, and because she did, so did I. We’d harvest peas, weed the onions, pick raspberries, and snip the hungry caterpillars in the garden with the low tinkle of these chimes in the background.
When they downsized 20 years ago, I got the windchimes. The string was disintegrating, the plastic was cloudy, the copper tarnished and rusty, but I cherished them. When the windcatcher cracked, I glued it back together (something grandpa would have done, though he didn’t have miracle E-6000 glue in those days!) – but put them away to prevent further damage. This week, with fresh copper paint and new fishing line, I revitalized the windchimes and hung them in a temporary spot at my house to try them out. With the first breath of wind, the sound memory was immediate – the exact tones from my childhood, not heard in so many years, came softly ringing from my own backyard. I slept with the doors open to hear them all night, knowing my grandparents were nearby and smiling.
Wallpaper FTW!
If you know me, you know that I love to make bold, unique design statements in my life, especially in my home. The past few years have seen a huge increase in wallpaper designs, creativity, and availability – so you may not be surprised to hear that I’ve become slightly obsessed with wild wallpaper! Whether used for an accent wall, a whole room, or sporadically throughout the home to tie spaces together, adding wallpaper can change your home’s whole vibe relatively quickly and easily.
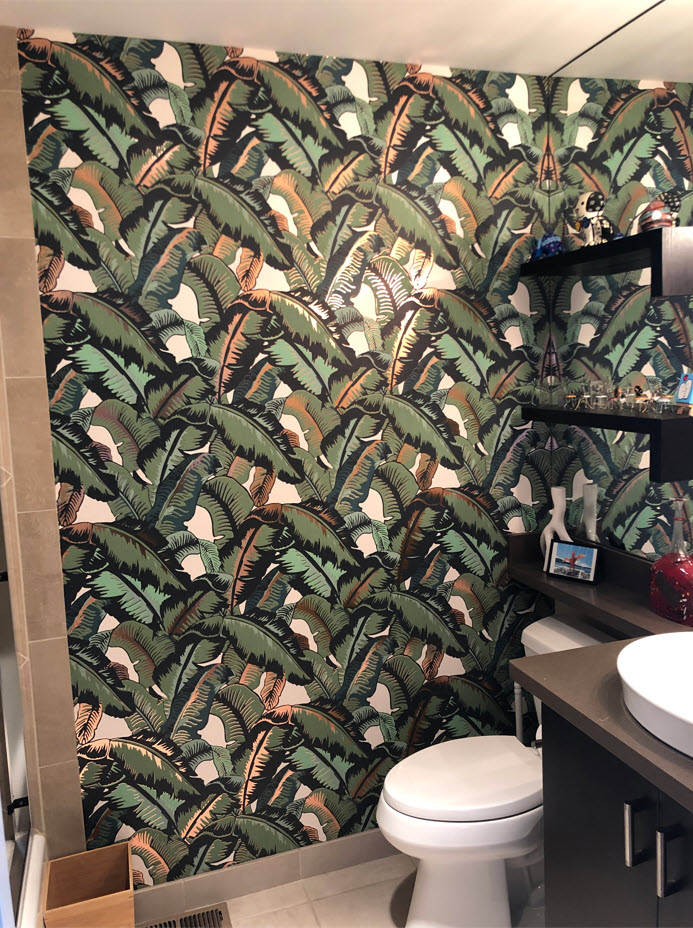
My first solo wallpapering project was an accent wall in a guest bathroom, with this retro luxe banana-leaf printed paper. It’s thick, heavy, foil paper – which meant it was tougher to bend into corners, and a bit harder to make clean cuts with my knife. But there’s gorgeous dimensionality to the design with the metallic foil!
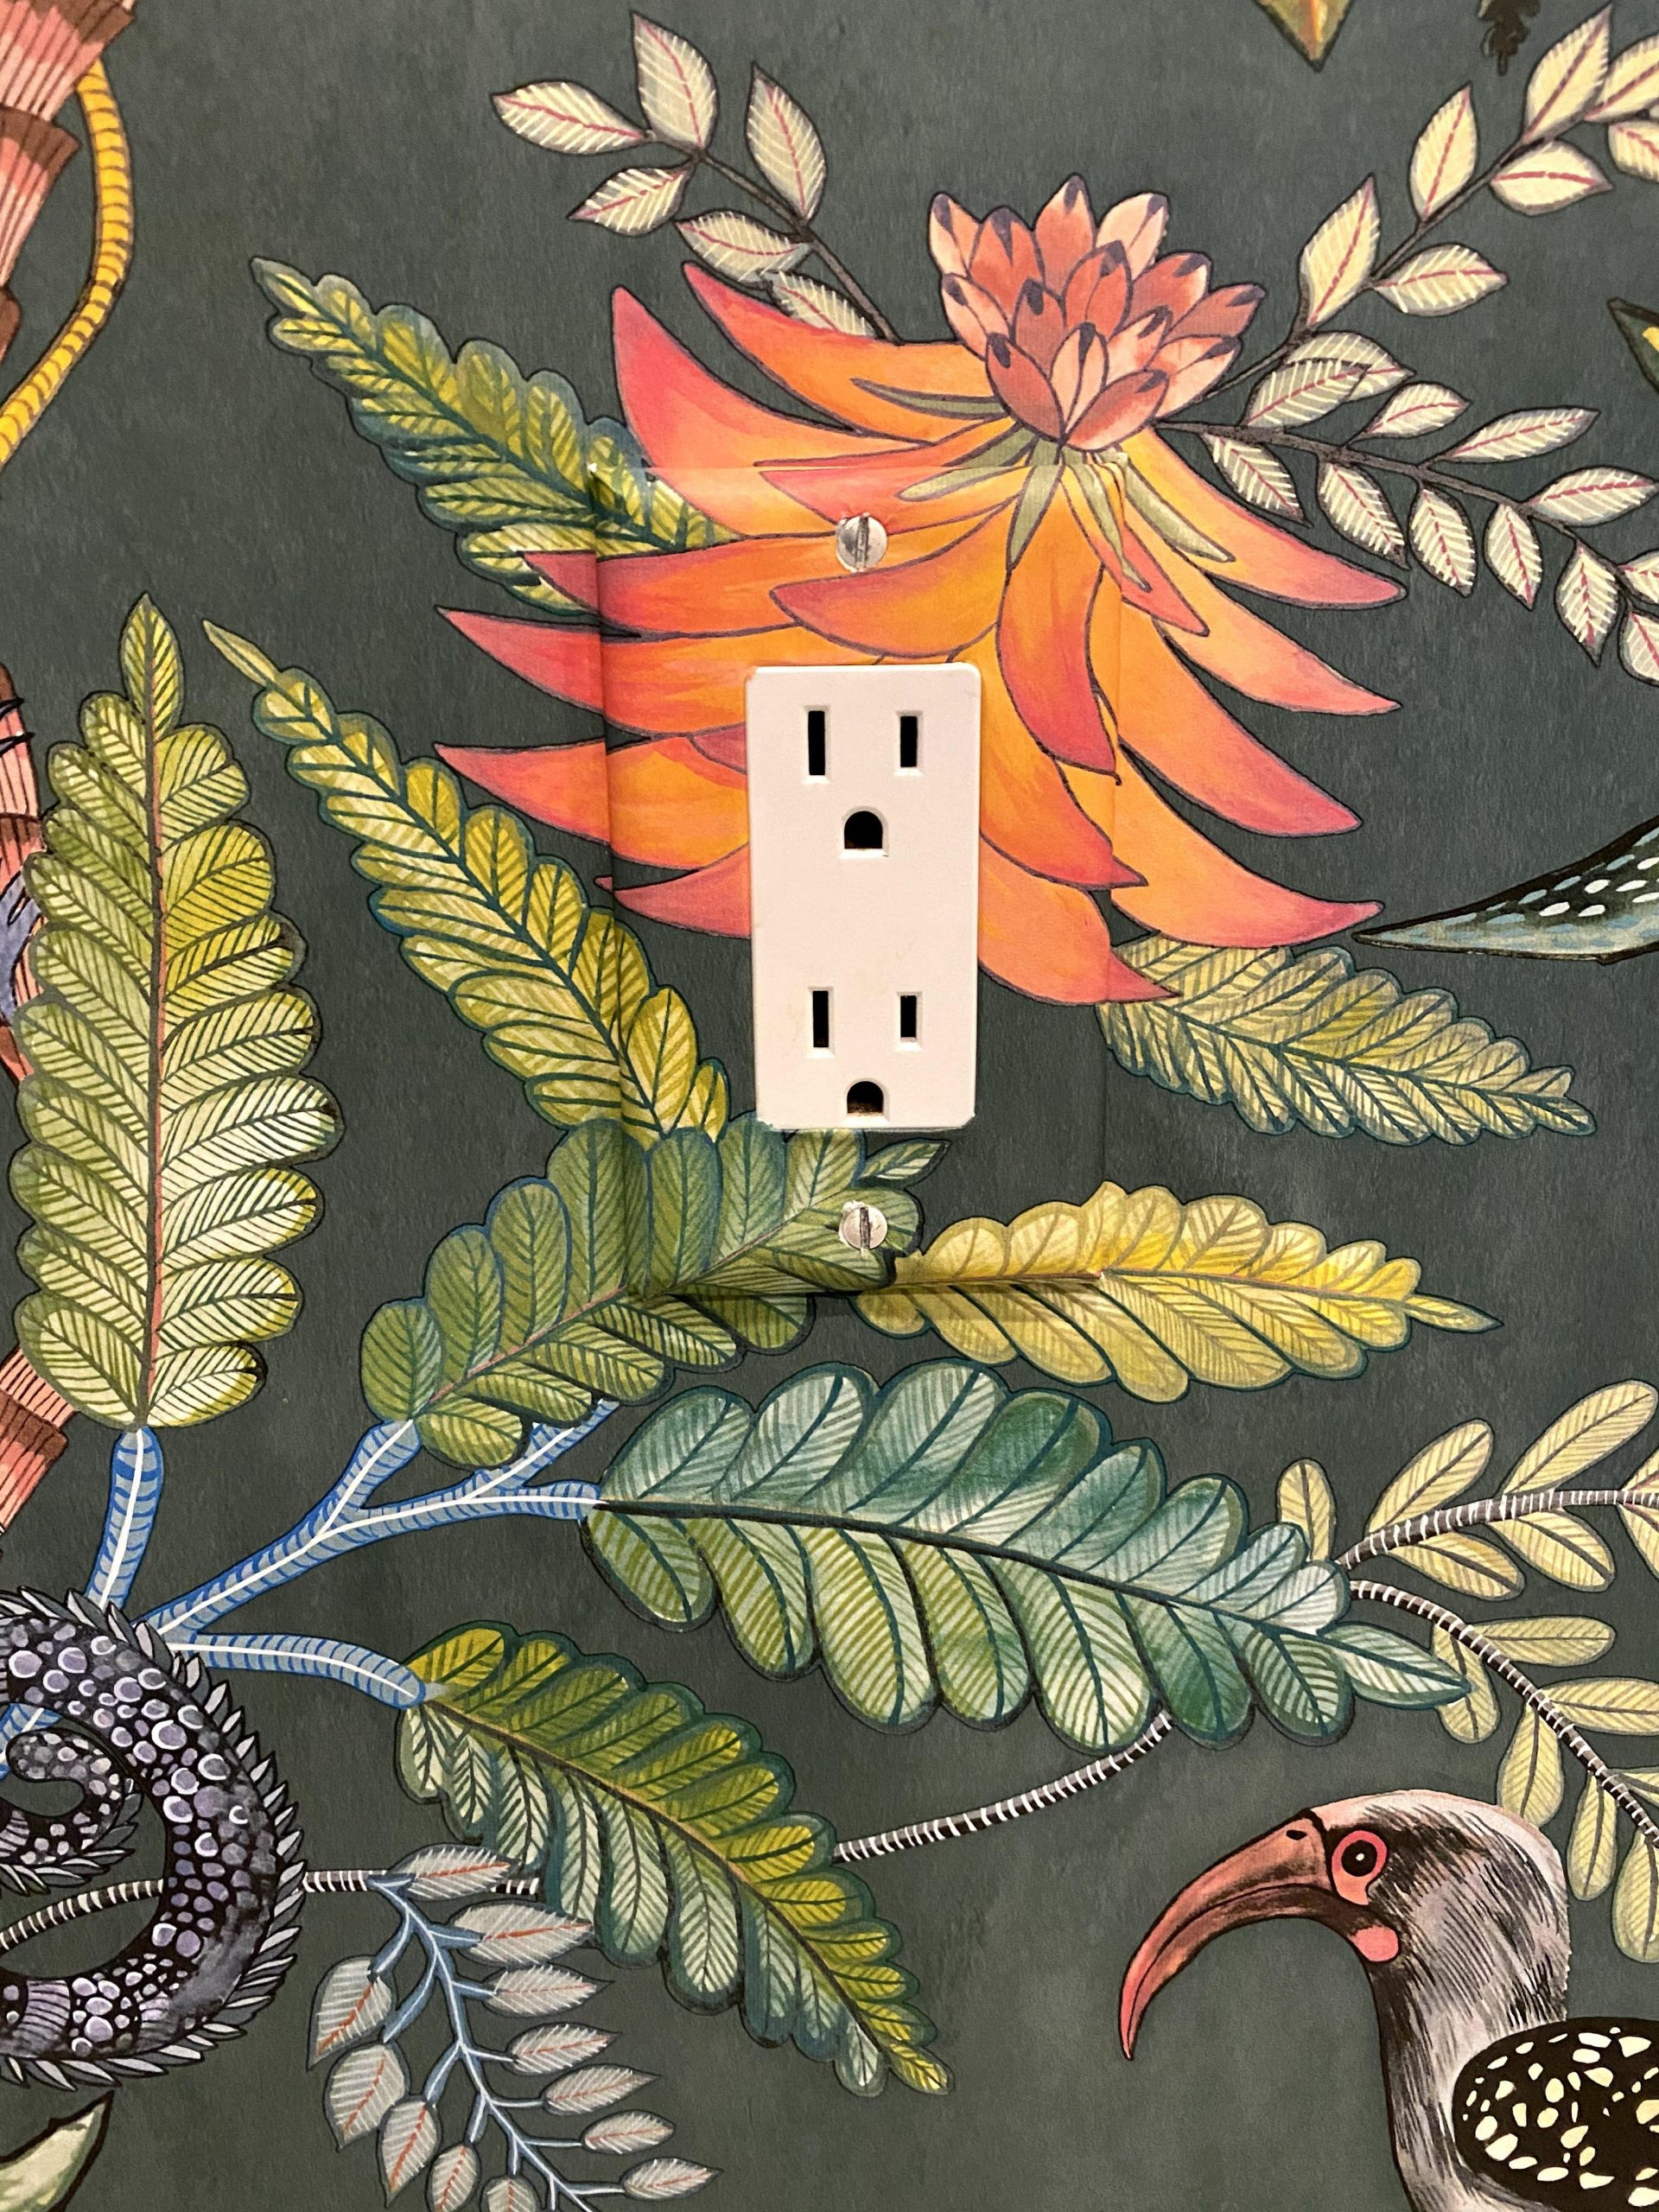
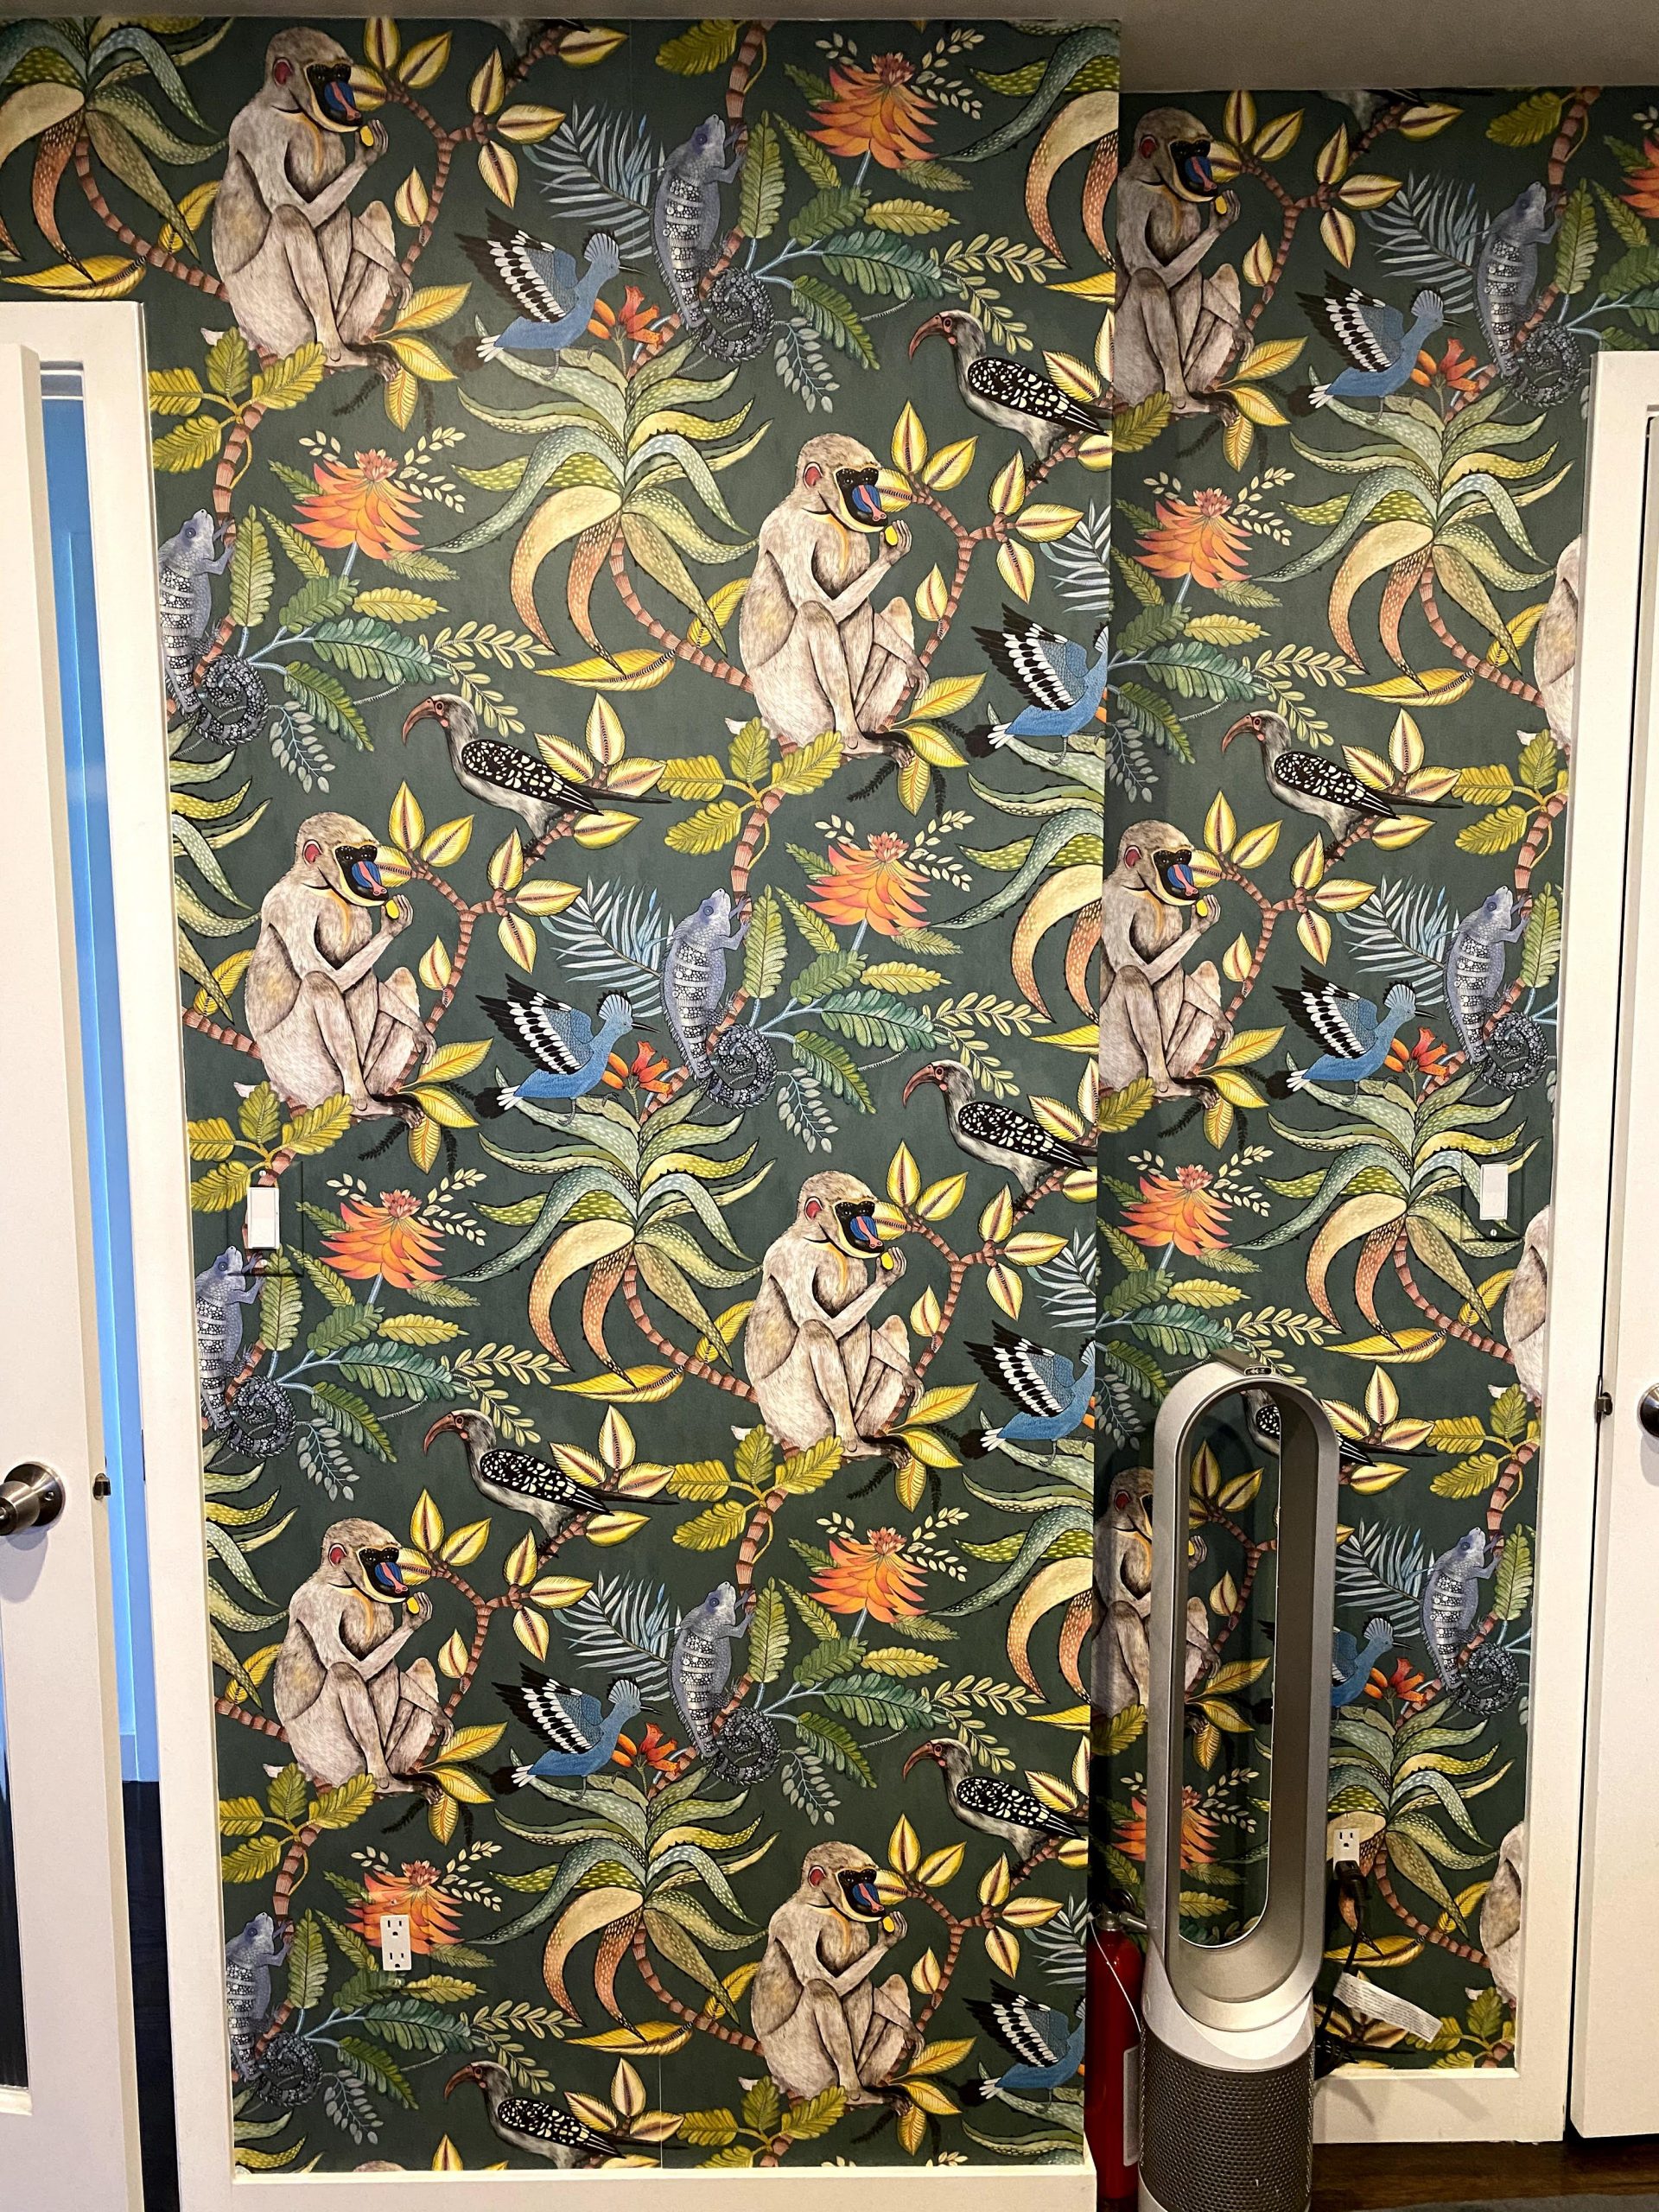
My second project was this jungle pattern in my bedroom – now I go to sleep each night feeling like Max in “Where the Wild Things Are…” It’s regular paper, and was much easier to work with than the foil. I had both inside and outside corners to navigate, and many switchplates to match (which turned out to be my favorite, perfectionistic part!).
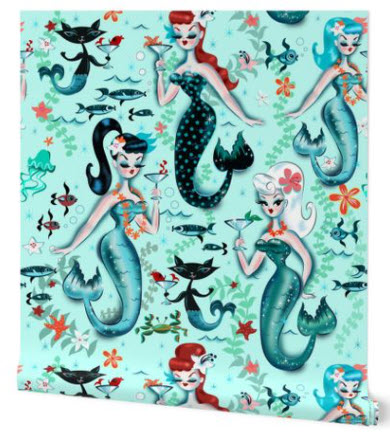
Next up: 60’s mermaids with martinis, for the basement bathroom currently being remodeled… (I think my mom thinks I’ve gone off the deep end…)
Many people are intimidated by wallpapering – I actually find it very zen-like and rewarding (much more fun than painting walls), and if you’re in the Seattle area, I’ll happily come help you get your project started! Here are a few of my tips and learnings:
- Always buy extra! Use online wallpaper calculators configured with specs for your particular roll – it should give you the option to add 10% extra, just do it!
- Related to that, always save ALL your scraps until you’re completely finished, no matter what. You may need to piece together a patch, fill a strip behind a doorway, or cover a switchplate.
- You’ll see the “drop” measurement noted for each wallpaper pattern – it’s basically the length of the pattern repeat. A larger drop isn’t harder to work with, it just means you need to buy more of it, and that you’ll also probably have more waste.
- Use a SHARP knife for trimming on the wall – the box cutters with snap-off blades are great. I snap off the used blade after each strip of wallpaper applied (basically 2-3 cuts). It feels wasteful at first, but it improved my cuts 100% when I started doing this.
- Watch videos from pros to get familiar with techniques for inside/outside corners, plumb lines, and selecting your start/end locations in the room. Also – do not assume your walls are plumb.
- It’s definitely easier with two people than solo – call me if you need an extra set of hands!
