After waterproofing our basement, we were left with some unfinished walls, no flooring, and the opportunity to change the look and functionality of our home office – a fresh beginning for a space that’s become mission-critical during the pandemic! We decided to tackle it DIY-style to learn new skills and save some money.
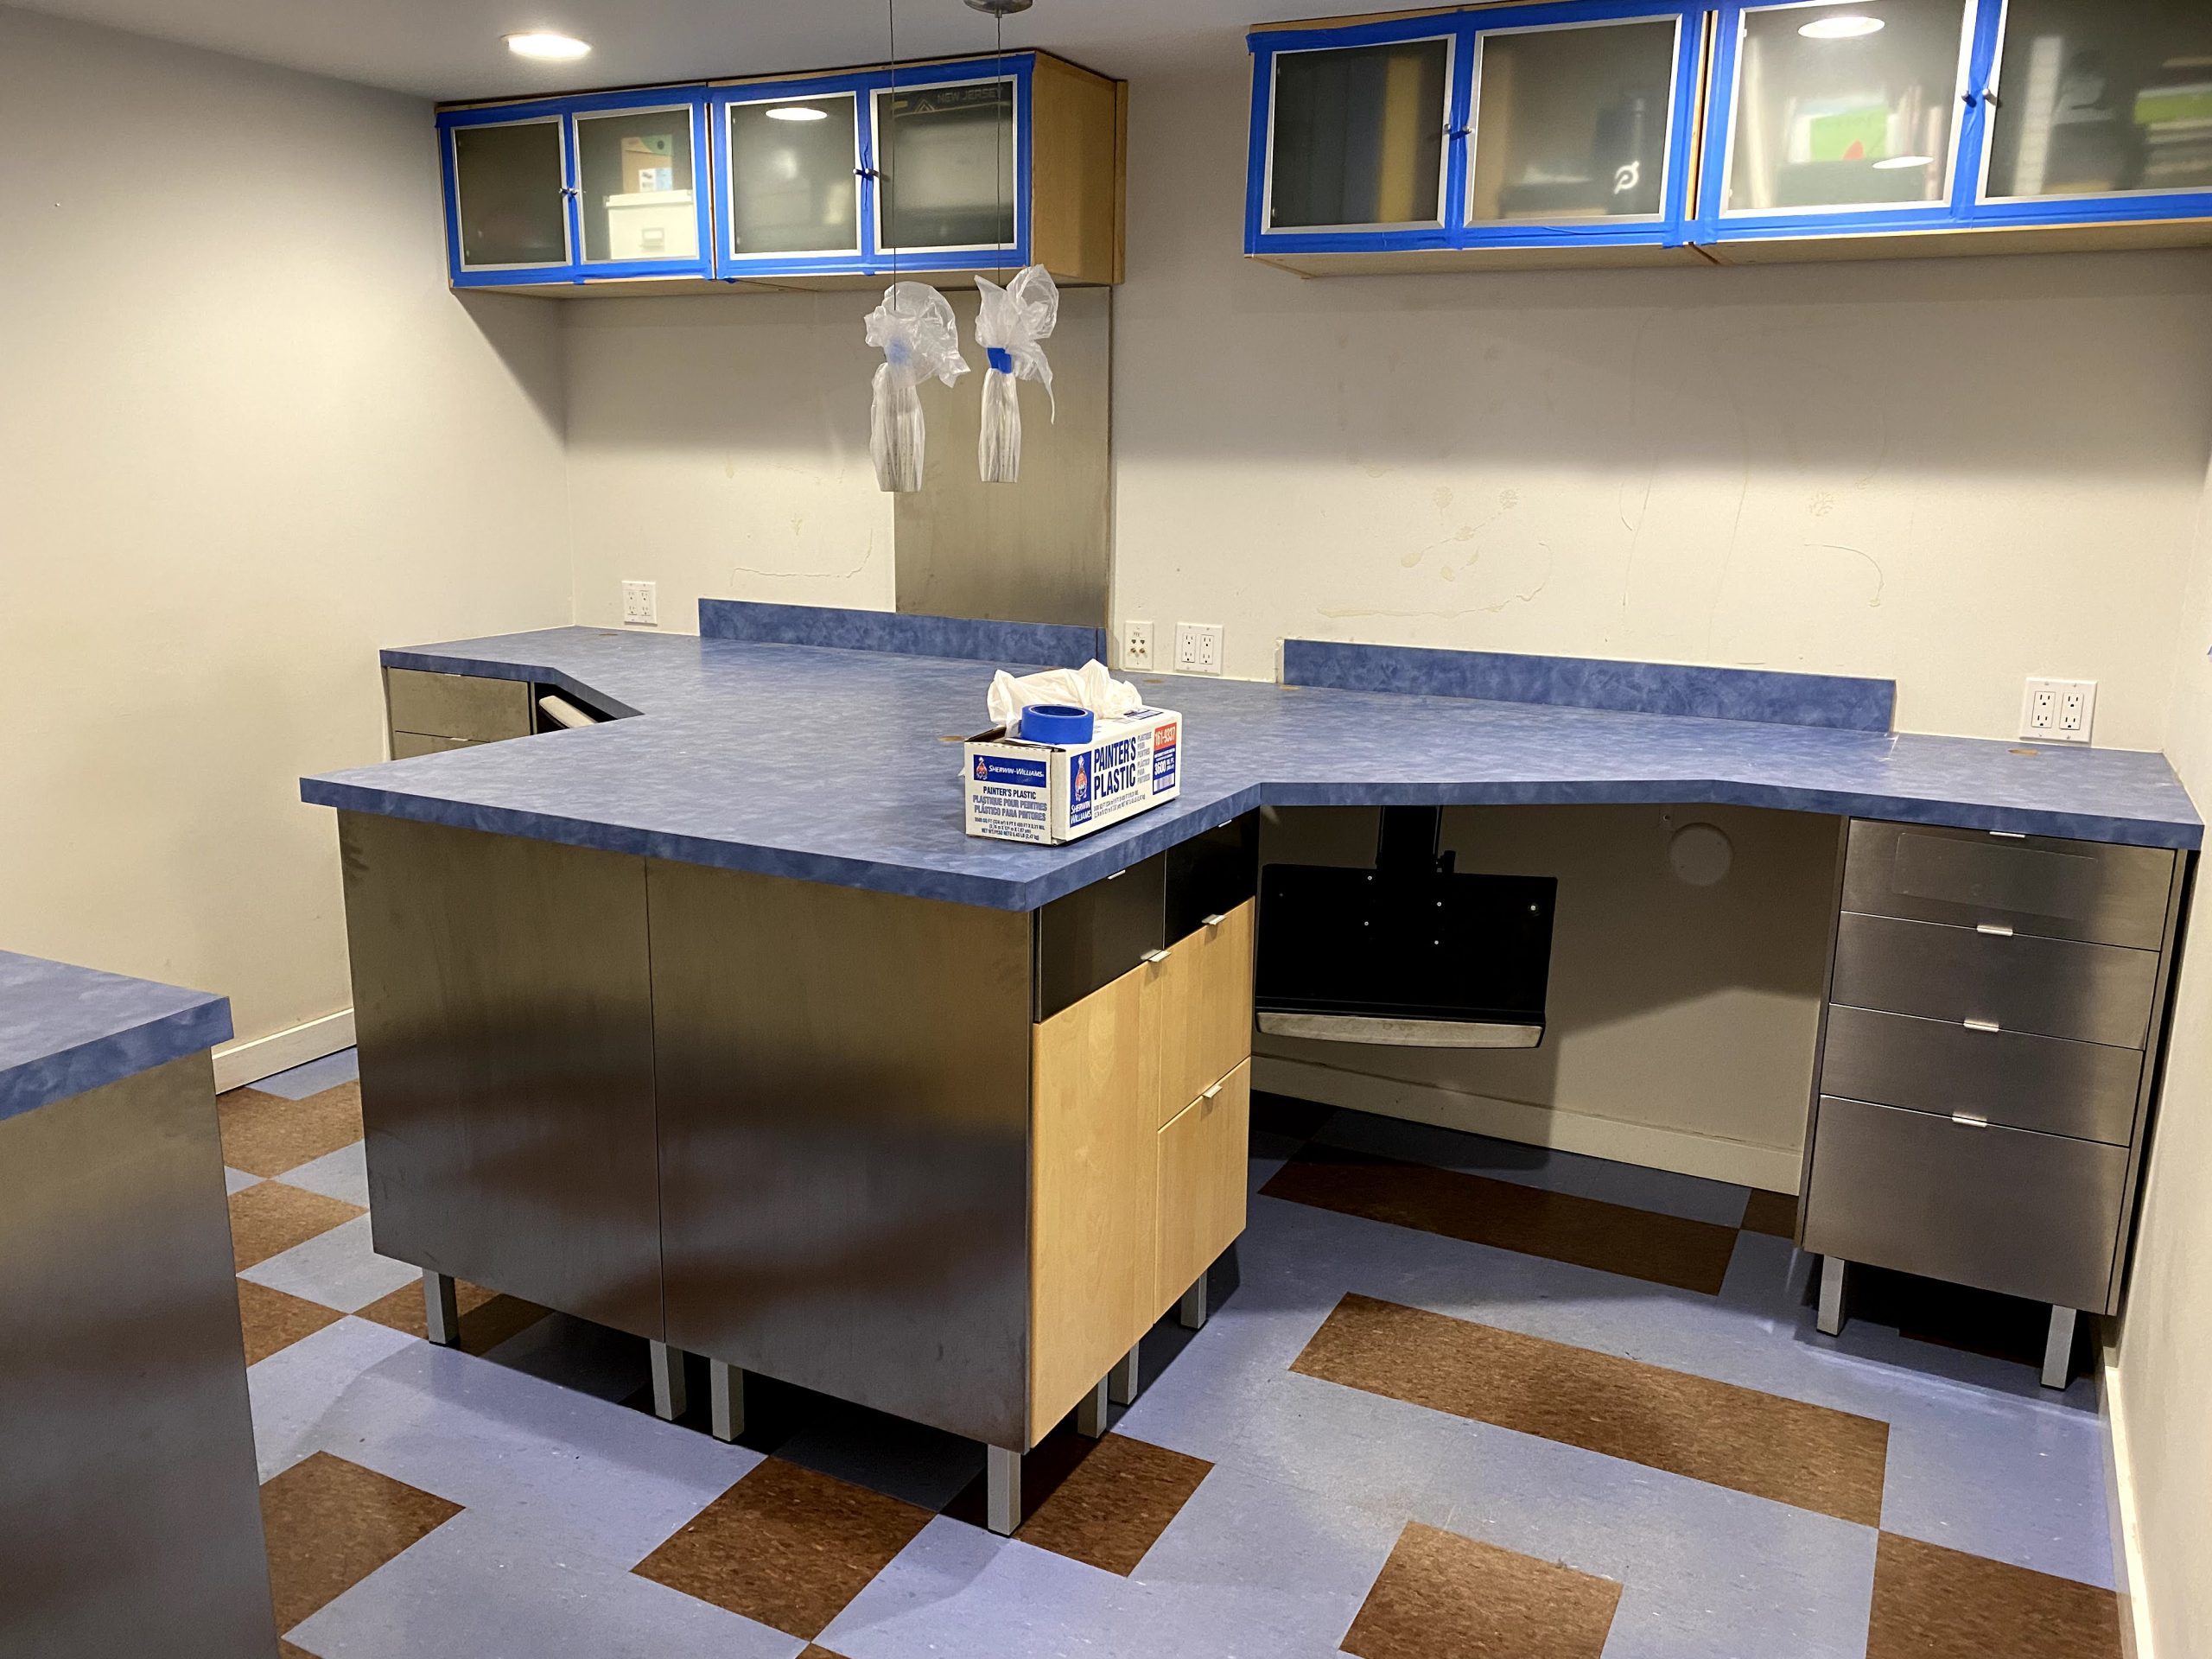
Office before construction
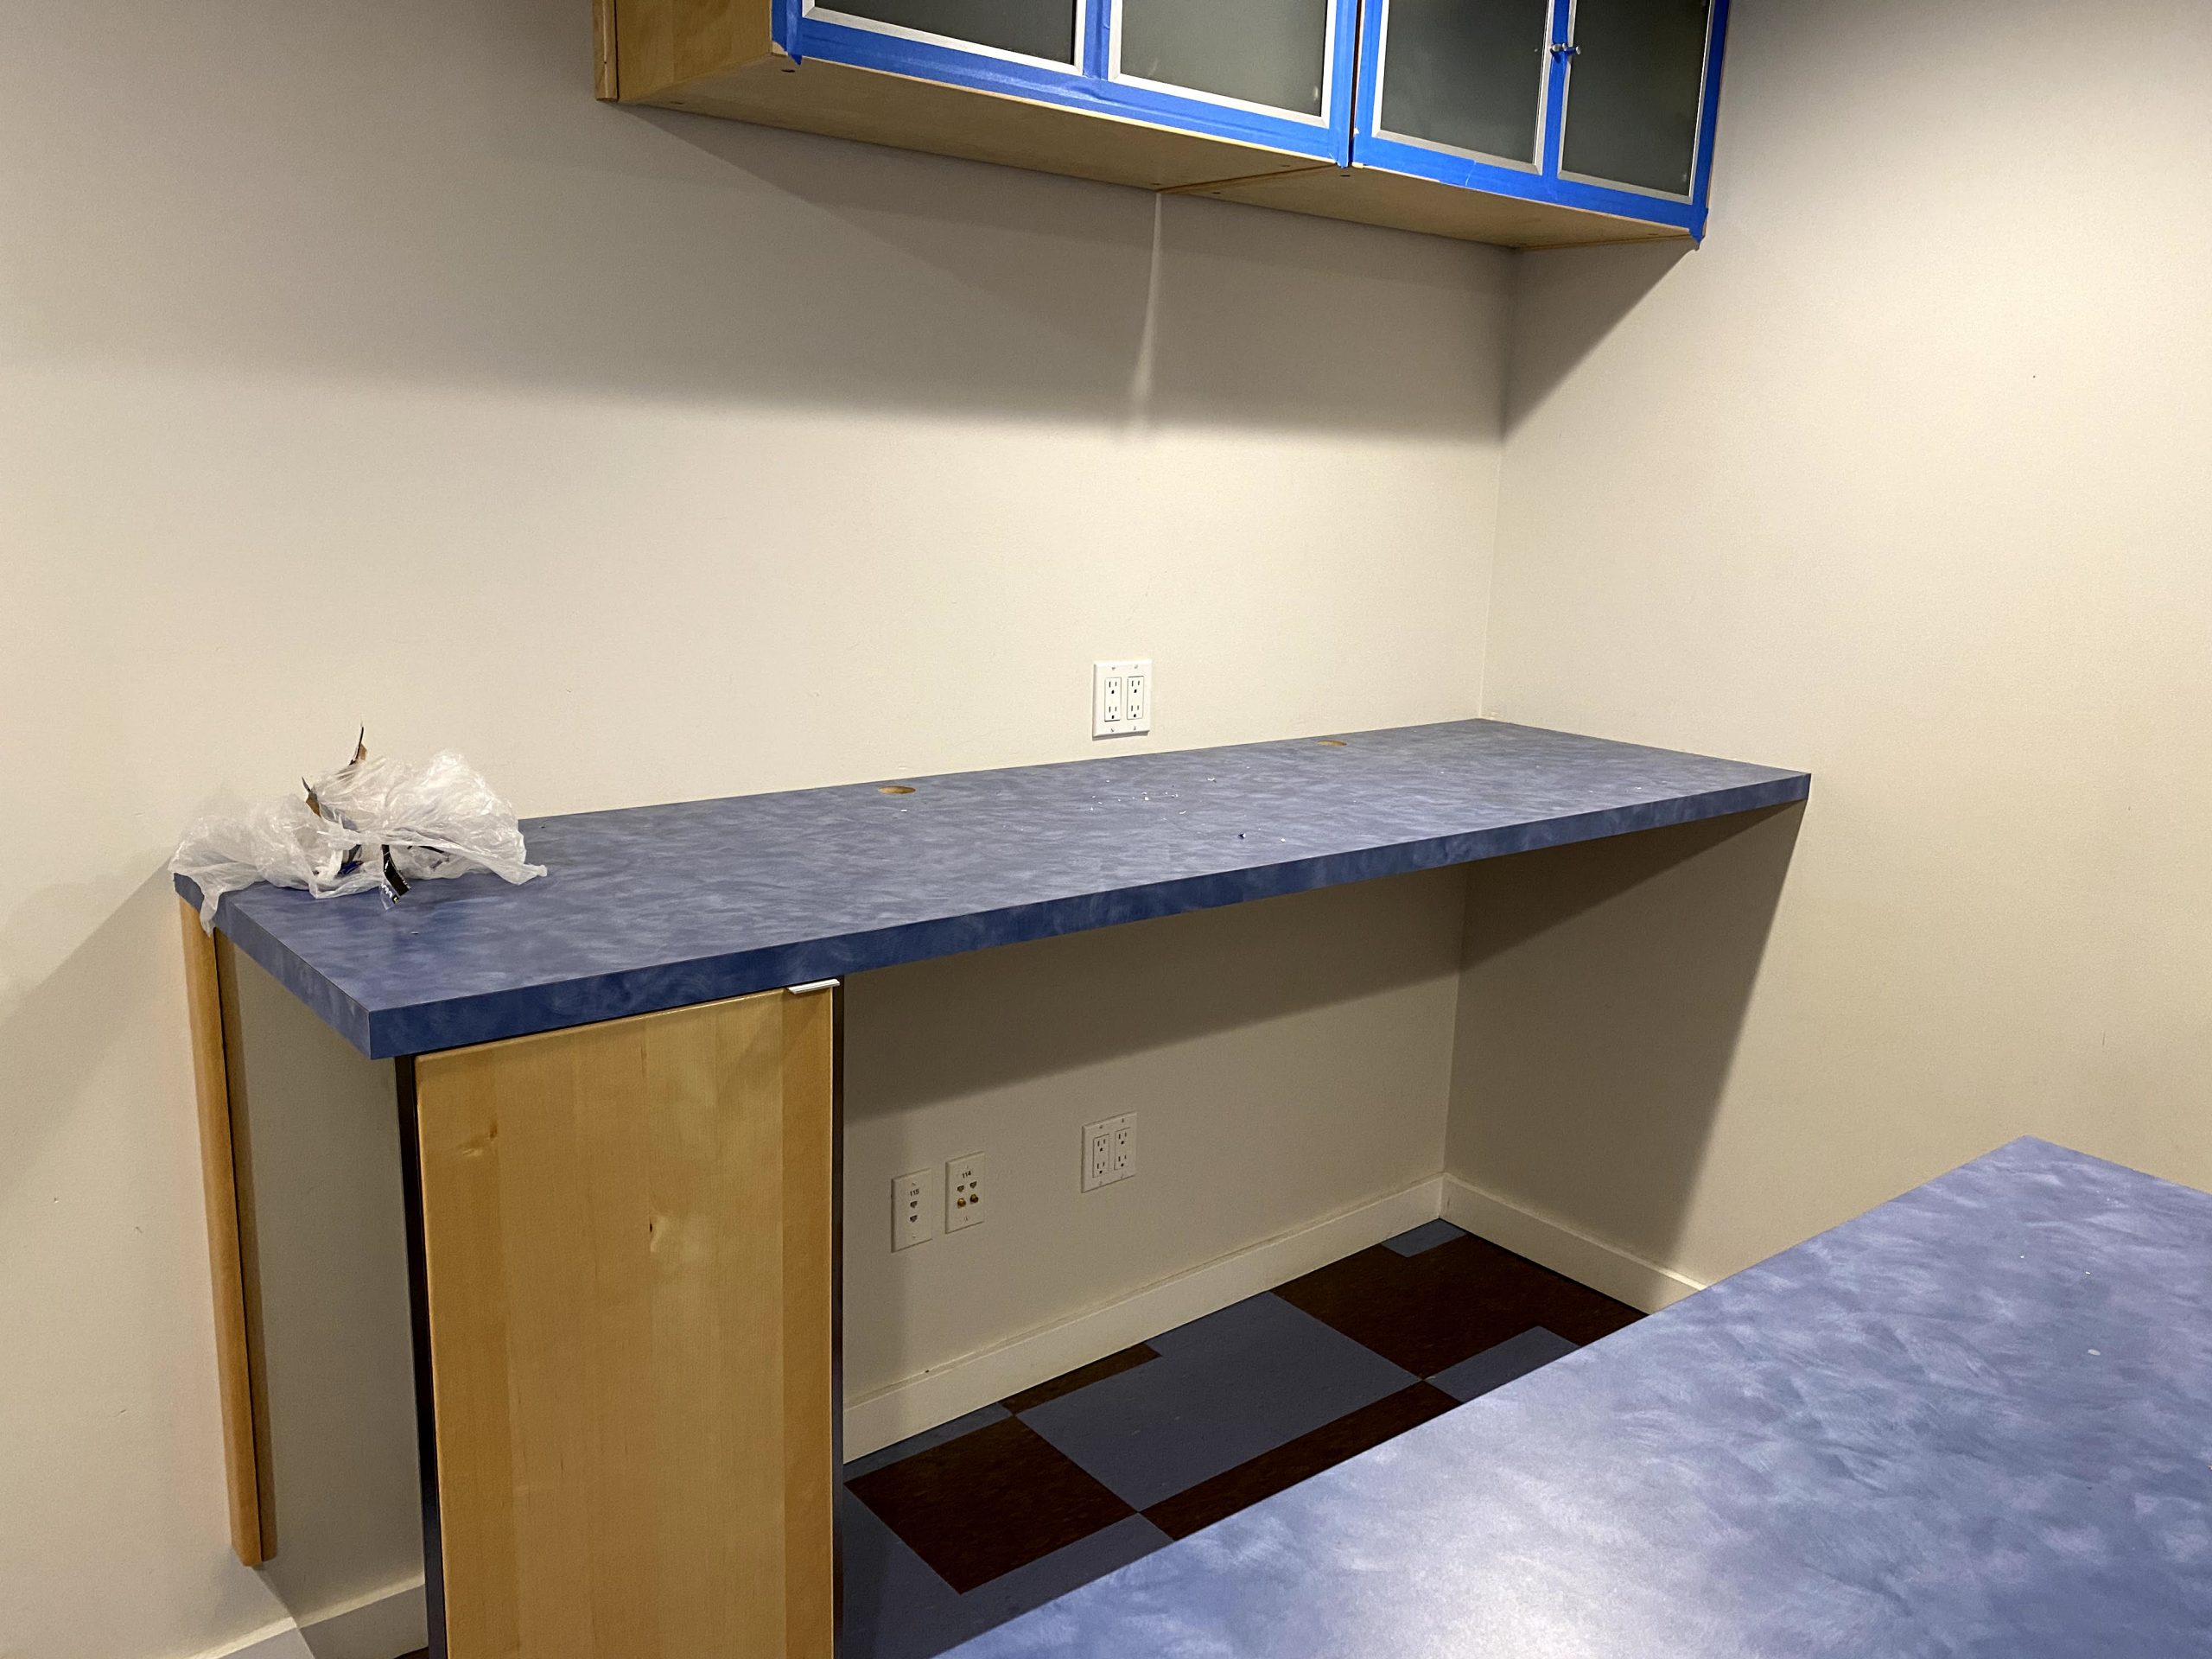
Office before construction (back wall)
Wall Repair: To fix the framing, the sill plate had to be secured with adhesive in all spots where the drains and waterproof membrane were installed. From there, we screwed short segments of 2″x4″s to each stud and the base to serve as patches. These photos and measurements will be passed along to any future homeowners, so they’re aware of the “jog” in each stud.
Drywall repairs like ours aren’t particularly difficult, but we learned it pays to be precise! The demolition left us with the dreaded “butt-joint” repair at 24″ high around the full perimeter. The videos at Home RenoVision DIY are filled with helpful tips and techniques and encouragement!
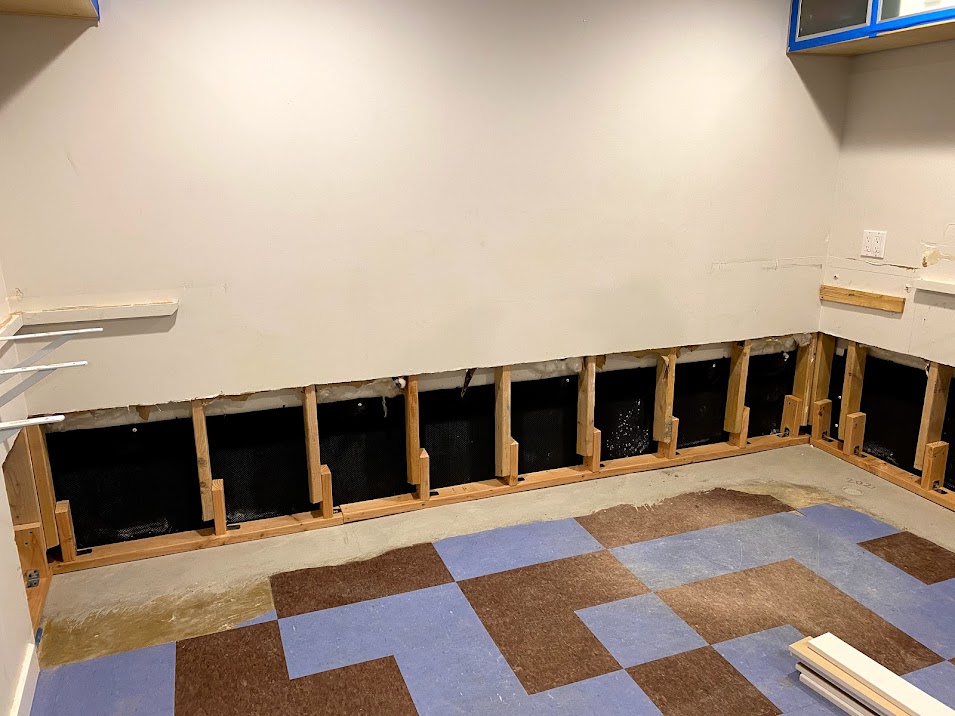
Studs extended over the waterproofing to the new sill plate.
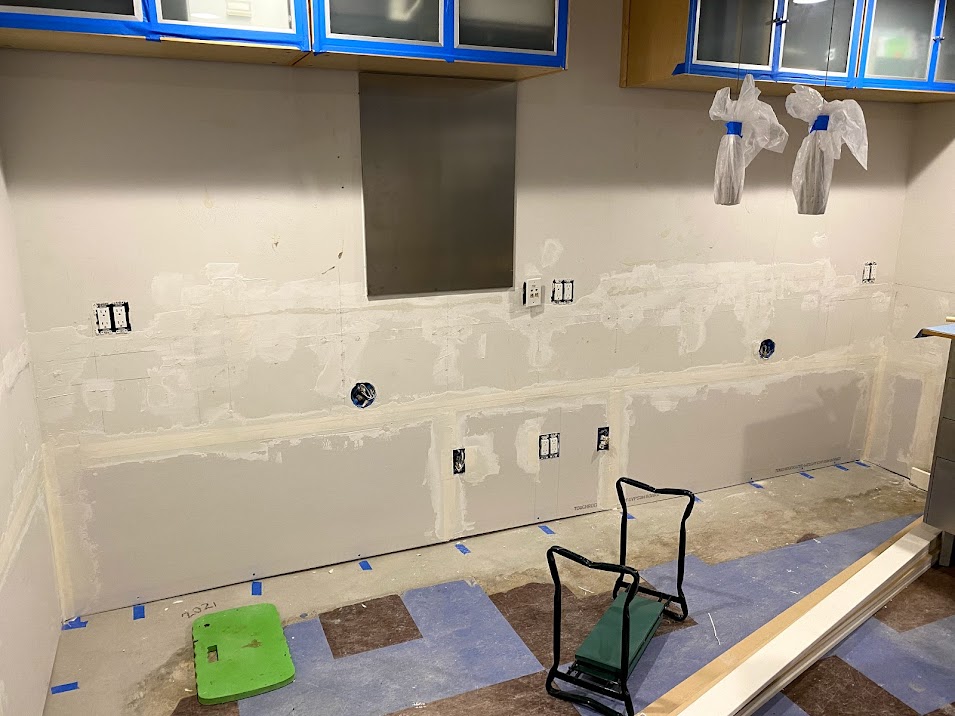
Taped and mudded. Be precise when cutting out those outlets and junction boxes!
Flooring: I firmly believe that carpet installation is best left to the professionals! We picked a pet-friendly product in a pewter-gray, with a wave pattern that reminds me of the beach at low tide. The installers seamlessly connected the office with the guest room. We liked the carpet so much, we decided to continue it into the TV room, replacing its distinctive (but worn) Kermit-the-Frog-green carpet and linoleum pathway. The room feels so much bigger now, and the office is much warmer than before!
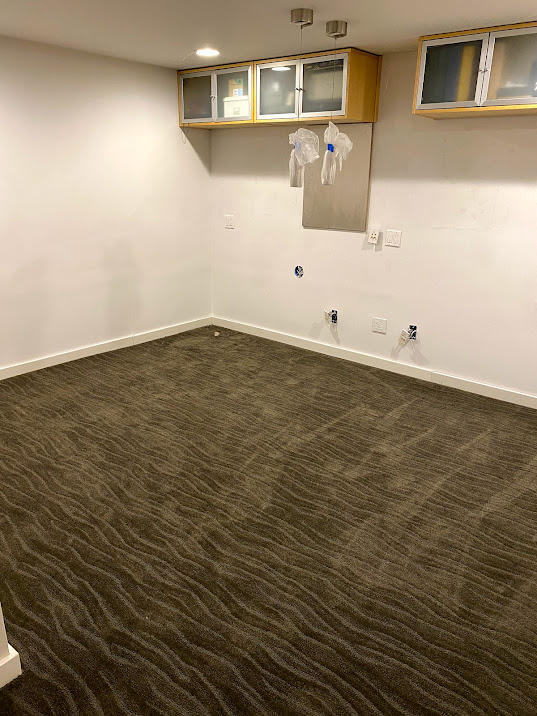
New carpet installed and baseboard seams caulked.
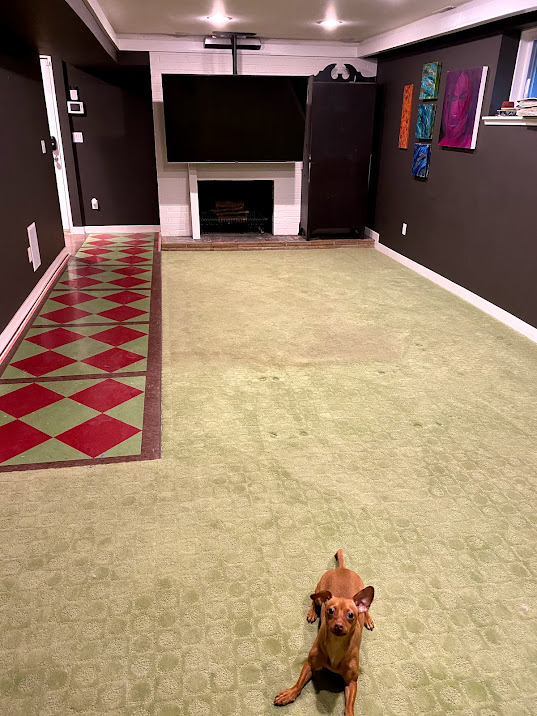
Before: TV room with old flooring
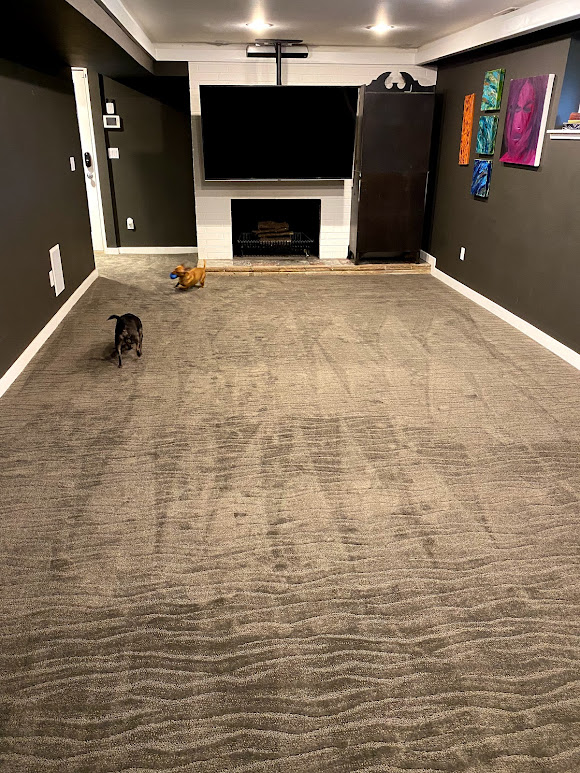
After: TV room with new carpet
Functionality: The previous built-in countertops were part of the demolition, but we were able to save the cabinetry and rearrange to suit a new configuration with two adjustable sit-stand desks. The new acacia-wood countertops were finished with tung oil for a lovely natural shine; they’re also REALLY heavy – save your toes, and get help when lifting them! Lastly, the new paint job in medium gray cuts down on the glare from screens and overhead lighting.
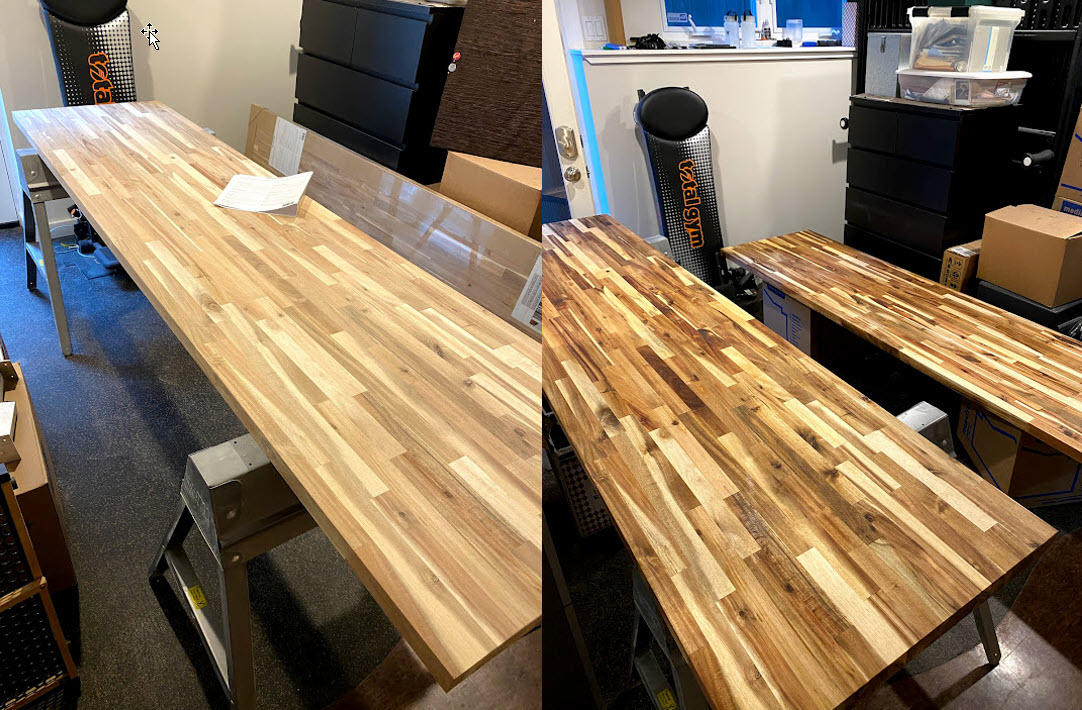
Acacia counter tops before and after applying several coats of tung oil.
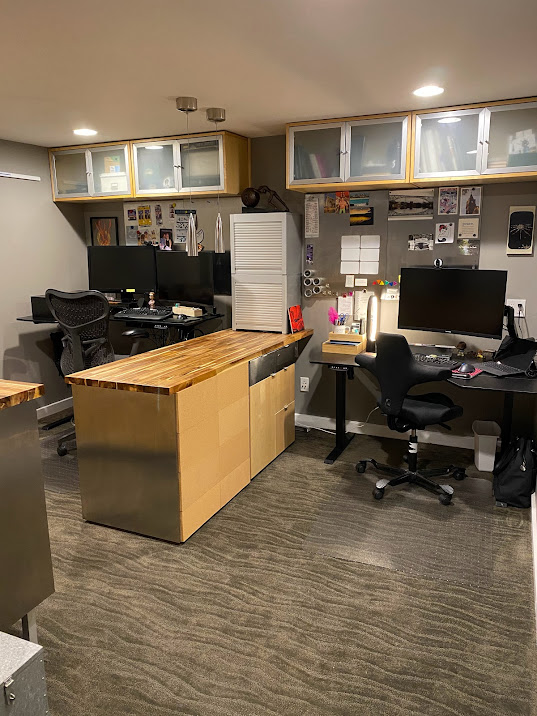
Finished office, ready for work!
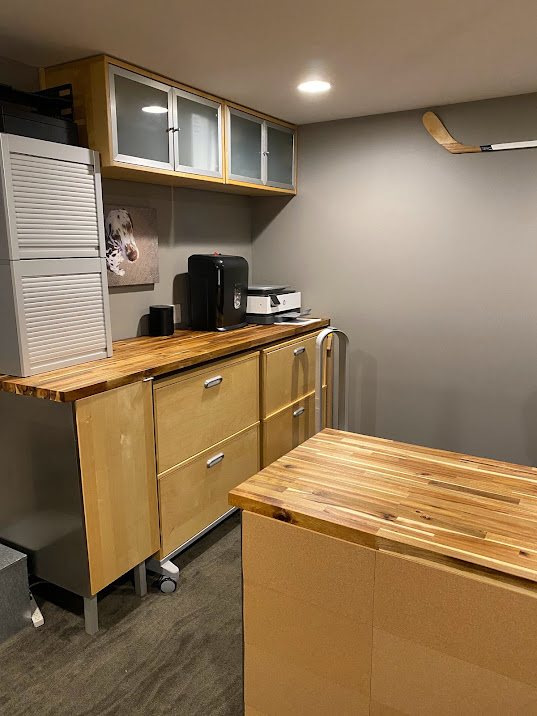
Office back wall with printer and filing cabinets.
 Facebook
 X
X
 Pinterest
 Copy Link